Photo editor: colour, filters, text and export
Grade a photo with Adjust, Curves and Levels, add presets, film overlays, stickers and text, control layers with blend modes, and export in the right format and size.
The look and finish tools at a glance
This article covers everything that decides how a finished photo looks: tone and colour, curves and levels, filters, presets, film overlays, stickers, text and the brand kit, plus the layer controls that mix them and the export that turns the result into a file. The sliders, curves, levels, filters, presets, overlays, stickers and text run on your device and use no credits. Magic AI auto-enhance in Adjust is the one AI helper among them and carries no price tag.
| Panel | Key | Use it to |
|---|---|---|
| Adjust | Alt+1 | Exposure, colour, detail and effects sliders, quick tone presets and HSL. |
| Curves | Alt+2 | Shape the tone curve of the whole picture or of one colour channel. |
| Levels | Alt+3 | Set black point, white point and midtones with a histogram. |
| Filters | Alt+4 | Optical filters such as blur and sharpen, and film overlays. |
| Presets | Alt+8 | One-click looks with an adjustable strength. |
| Stickers | Alt+9 | 3D stickers, shapes and emoji. |
| Text | T | Captions and headings on the photo. |
| Brand | Logos, colours and fonts from your brand kit. |
Adjust: tone, colour and detail
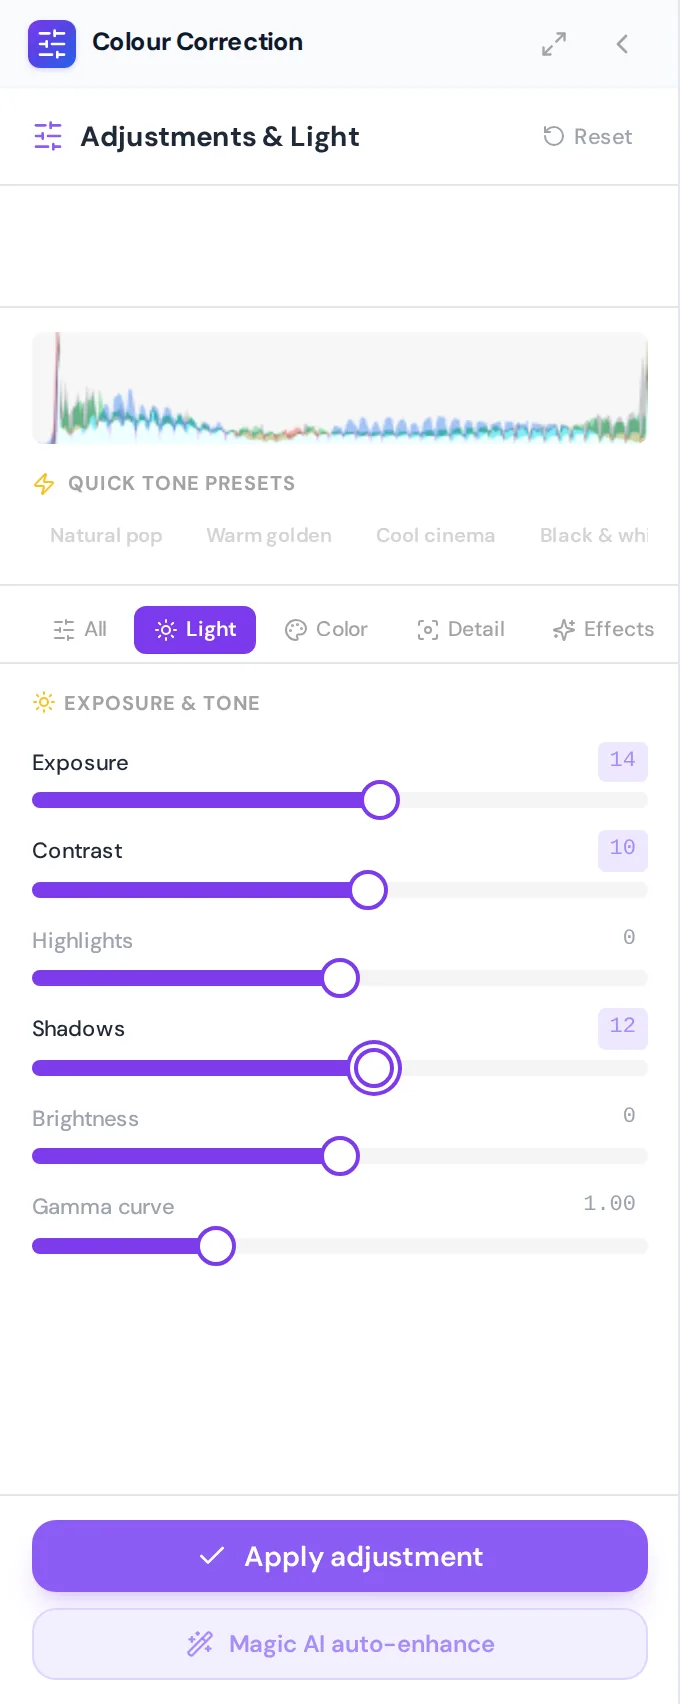
Open Adjust with the photo selected. The histogram on top shows how the tones are spread. Below it the Quick tone presets (Natural pop, Warm golden, Cool cinema, Black & white, Vintage matte) set several sliders at once, and the tabs All, Light, Color, Detail and Effects group the sliders. A small dot on a tab means it contains changes.
| Tab | Sliders |
|---|---|
| Light | Exposure, Contrast, Highlights, Shadows, Brightness, Gamma curve |
| Color | Color temperature, Tint, Vibrance, Saturation, Hue shift, plus the sections Color / HSL and Split toning |
| Detail | Texture, Clarity, Dehaze, Sharpening, Noise reduction |
| Effects | 35mm film grain, Lens vignette, Faded matte film |
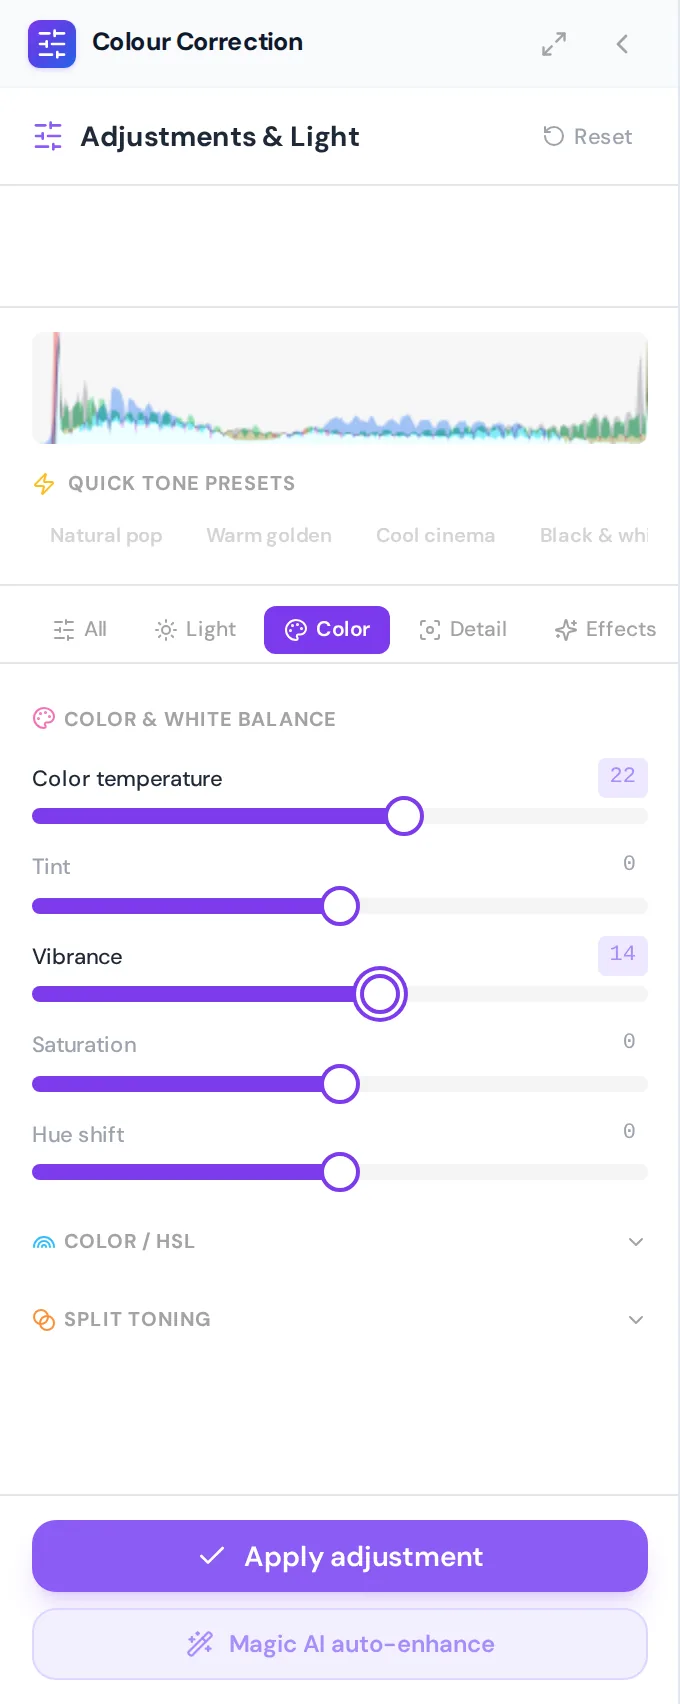
- Click a slider's value to reset it, or use Reset at the top to clear everything.
- Color temperature moves between cool and warm, Tint between green and magenta. Vibrance lifts muted colours more than strong ones and is the gentler choice, Saturation lifts everything equally.
- Highlights and Shadows act on the bright and dark parts only, so you can rescue a sky without flattening the rest.
- Clarity adds local contrast and Dehaze cuts through a hazy distance.
Colour by range and split toning
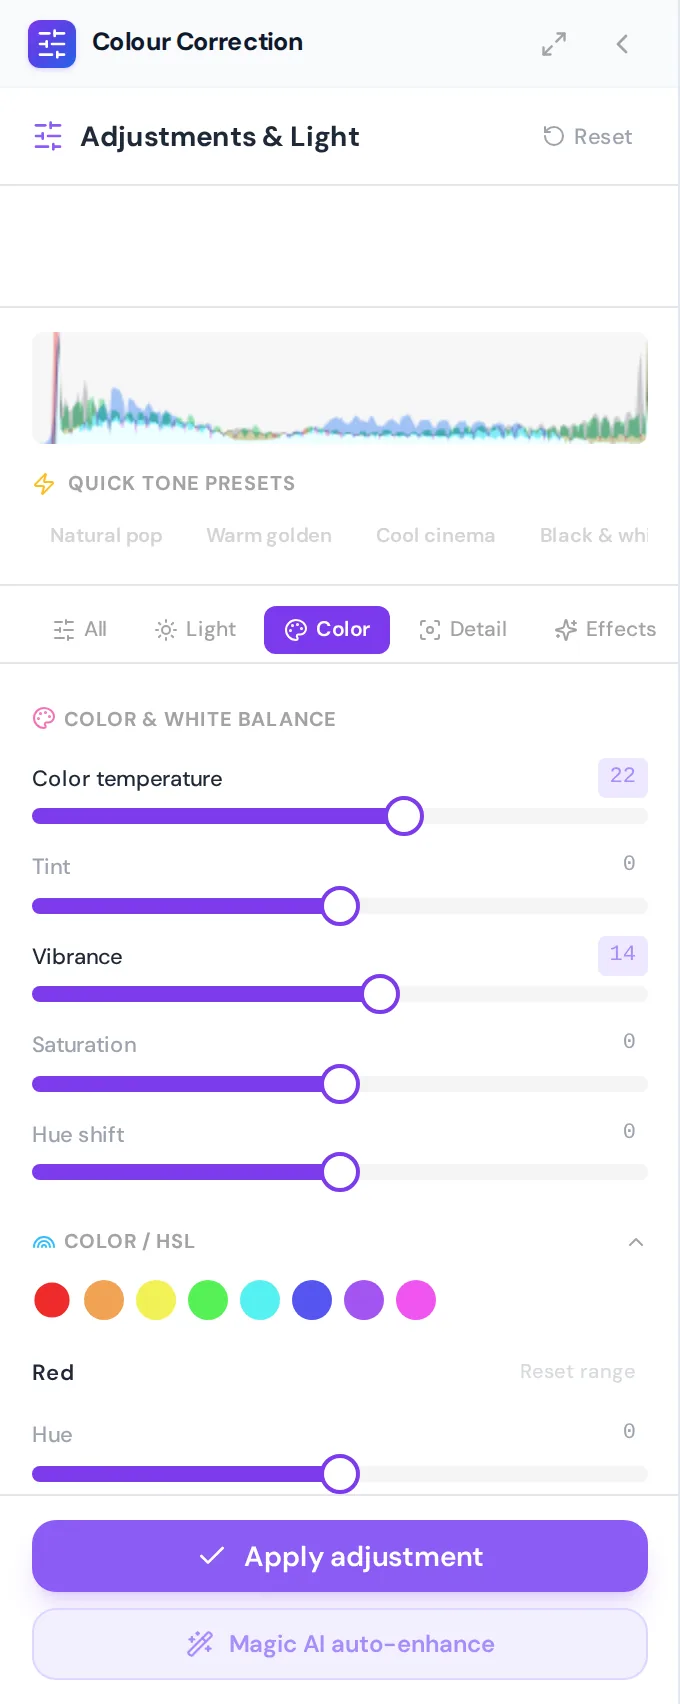
Open Color / HSL to change one colour family at a time. Pick one of the eight ranges (Red, Orange, Yellow, Green, Aqua, Blue, Purple, Magenta), then move its Hue, Saturation and Luminance. Reset range clears only that range. Under Split toning you give highlights and shadows their own hue and saturation, and Balance decides which side dominates. A teal shadow with a warm highlight is the classic cinematic grade.
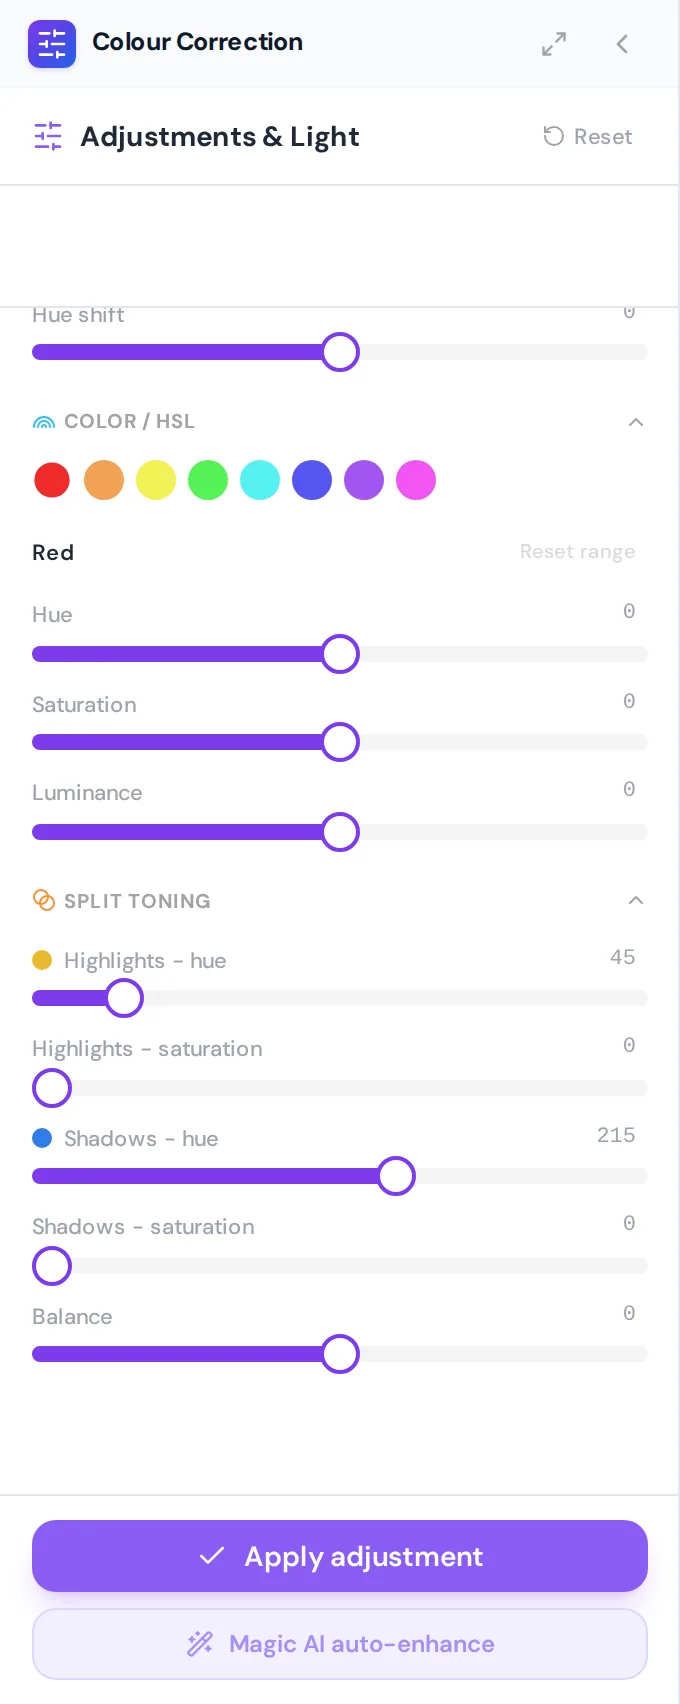
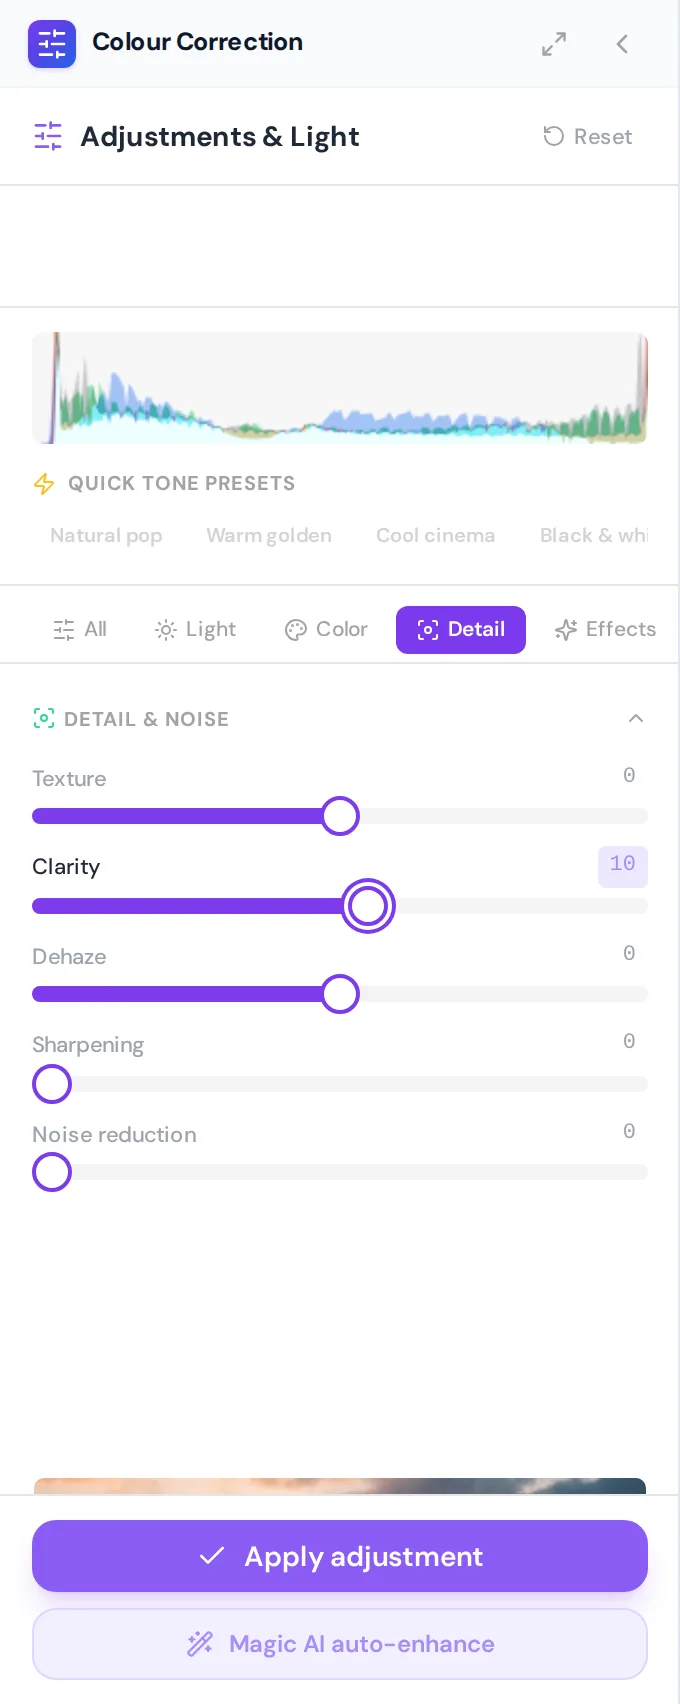
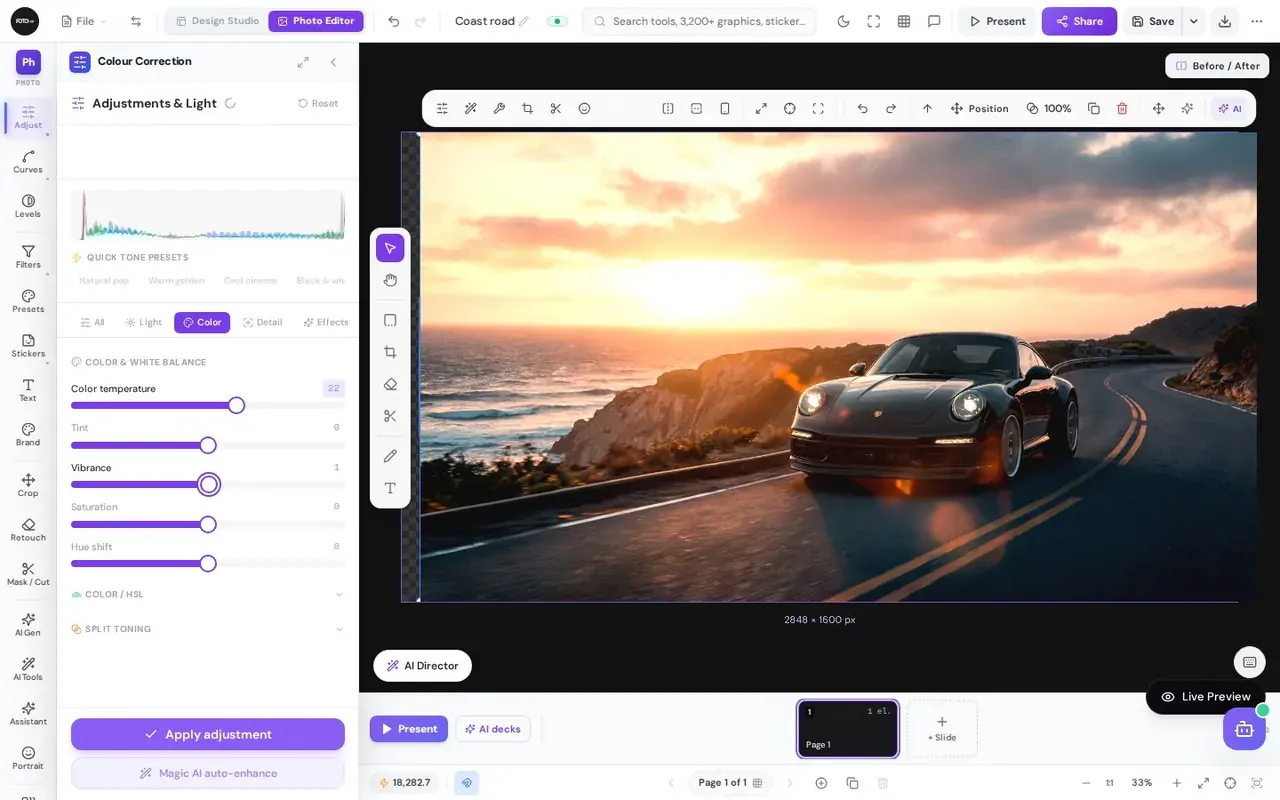
Apply adjustment commits the sliders at full resolution. Magic AI auto-enhance below it sets the sliders for you from the photo, and you can fine-tune them afterwards. Copy edits and Paste edits copy a whole recipe to another photo. In the Effects tab you can also Export my grade as .cube, and the LUT section imports your own .cube files into a library, so a grade you build here can be reused.
Curves and Levels
Sliders are quick. Curves and Levels are precise. Both show the histogram of the photo, and both have their own Apply button.
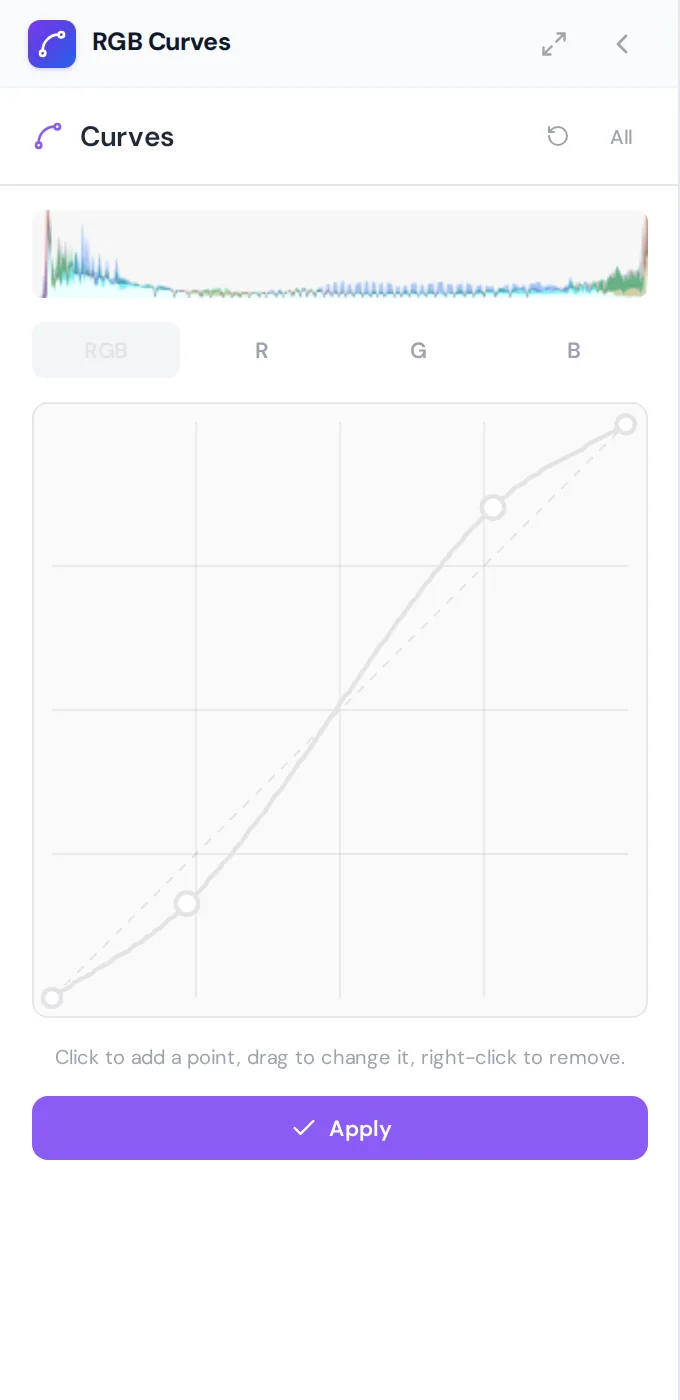
- Pick a channel RGB changes overall brightness and contrast, R, G and B change one colour channel, which is how you remove a colour cast.
- Shape the curve Click on the line to add a point, drag it up to lighten that tone or down to darken it. Right-click a point to remove it. Reset channel and Reset all channels start over.
- Apply Press Apply. The curve is baked into the pixels and recorded in History.
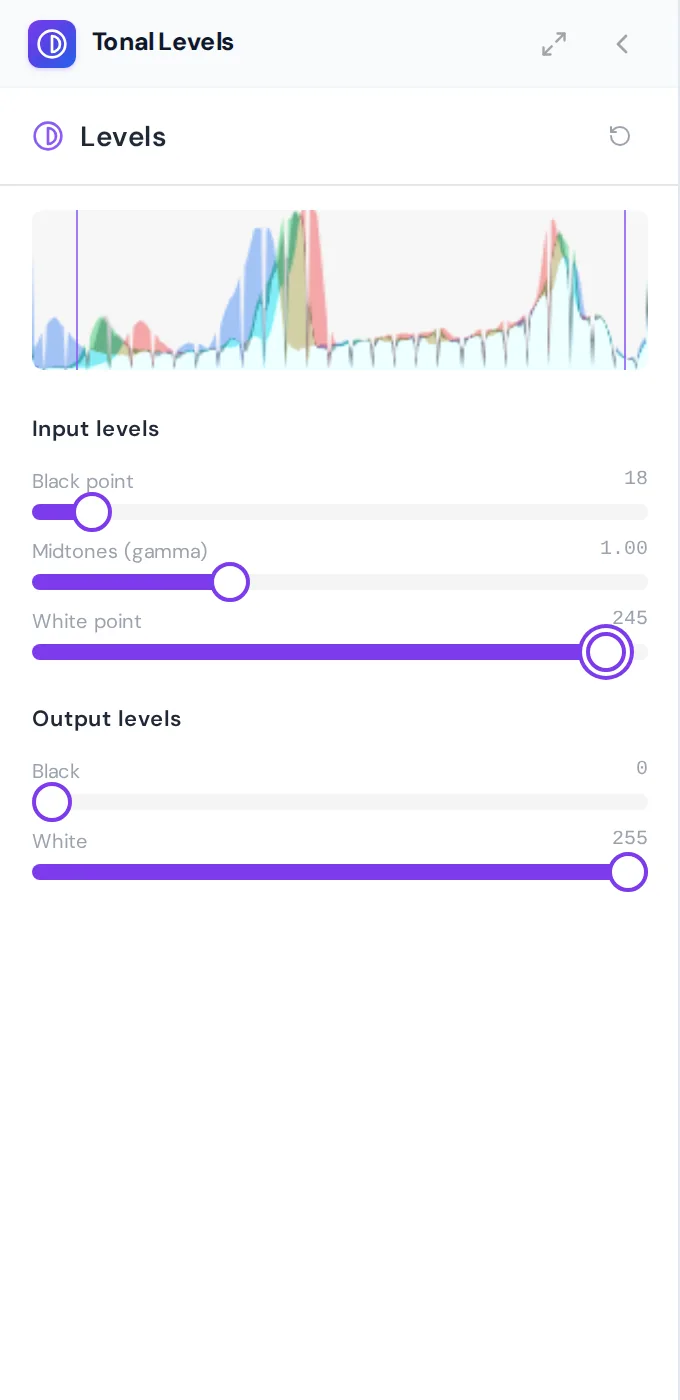
In Levels you drag Black point to the start of the histogram so the darkest tones become true black, White point to its end so the brightest become white, and use Midtones (gamma) to brighten or darken the middle without touching the ends. Output levels do the opposite: they limit how black and how white the result may be, which gives the faded look of film.
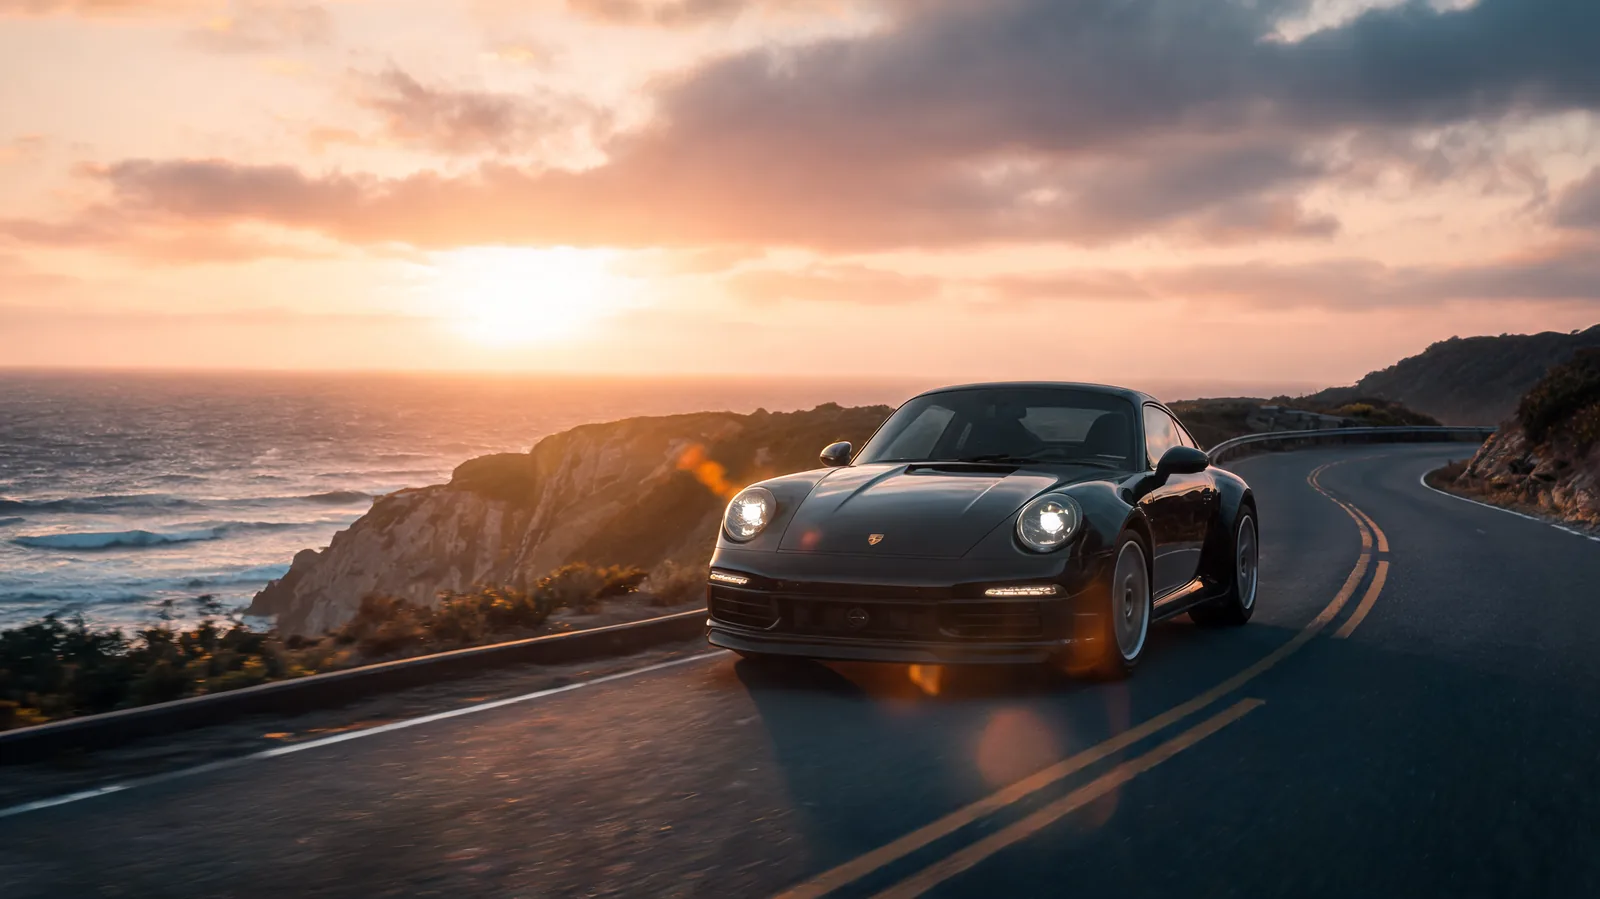
Golden hour grade for a coast road photo
Goal. Warm up a cool sunset shot, lift the shadows and give the picture a little more depth, then export it as a JPG.
Input you can copy.
Photo: dark sports car on a coast road at sunset, 2848 by 1600 pixels| Setting | Value |
|---|---|
| Light tab | Exposure +14, Contrast +10, Shadows +12 |
| Color tab | Color temperature +22, Vibrance +14 |
| Detail tab | Clarity +10 |
| Curves | RGB, a point at the lower left quarter pulled down and one at the upper right quarter pushed up (a soft S) |
| Export | JPG, 1x |
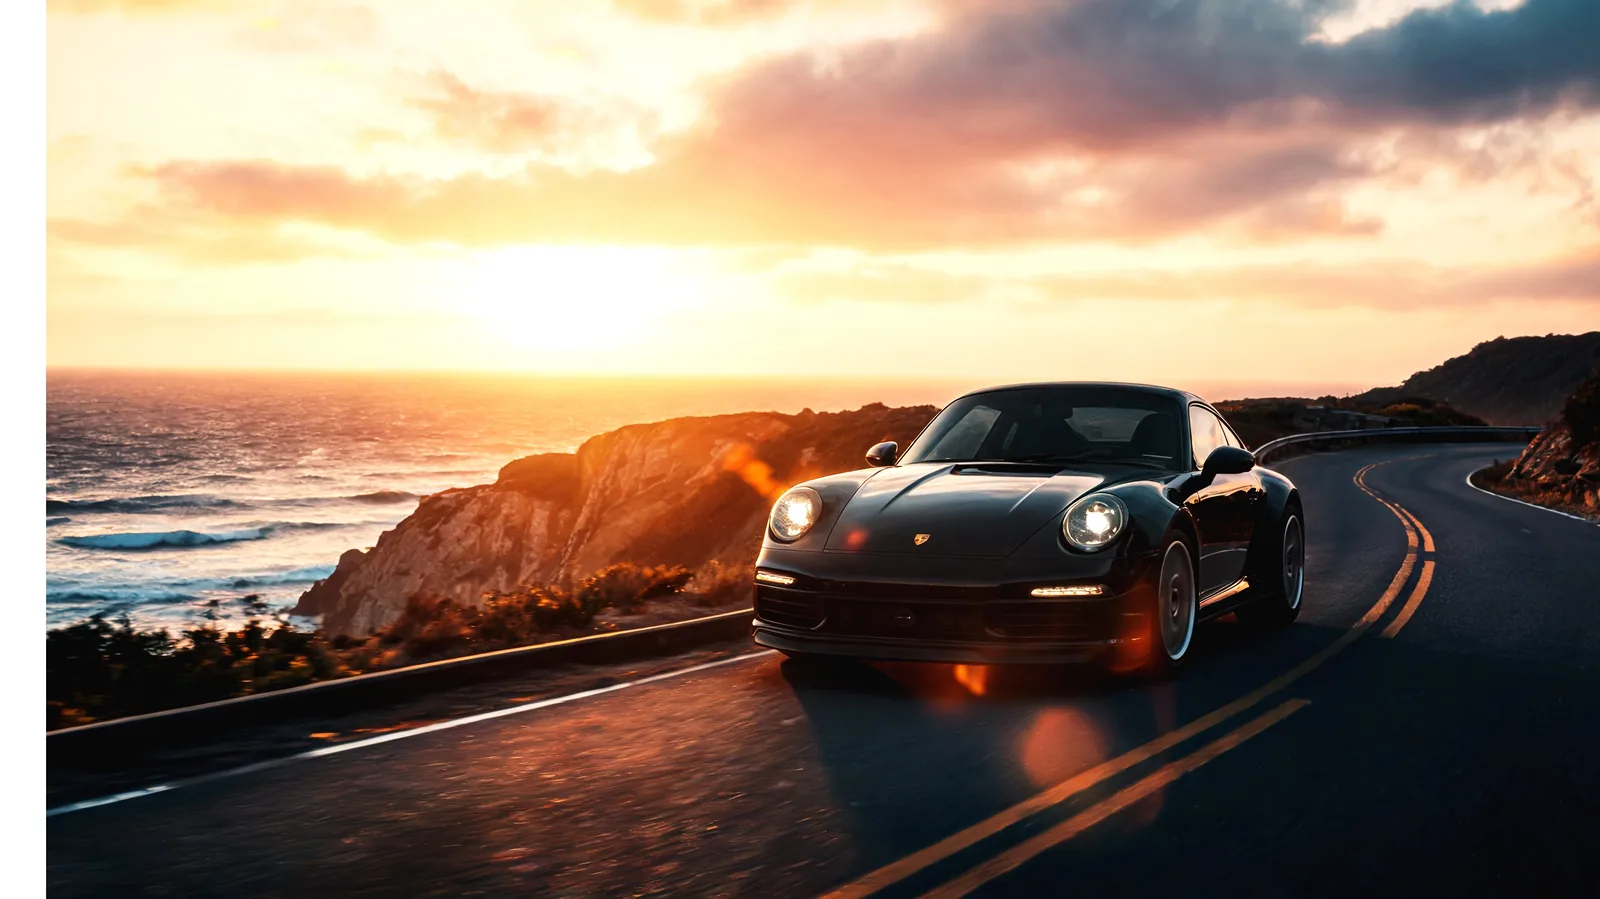
Why it works. Temperature and vibrance do the warming, shadows and exposure open up the dark road, and the S-curve restores the contrast that the lift removed. Doing the curve last matters: it shapes the final tonal range instead of being undone by the sliders after it.
Filters and film overlays
The Filters panel has two tabs. Optical filters change the pixels of the photo. Film overlays add analog effects as separate layers on top.
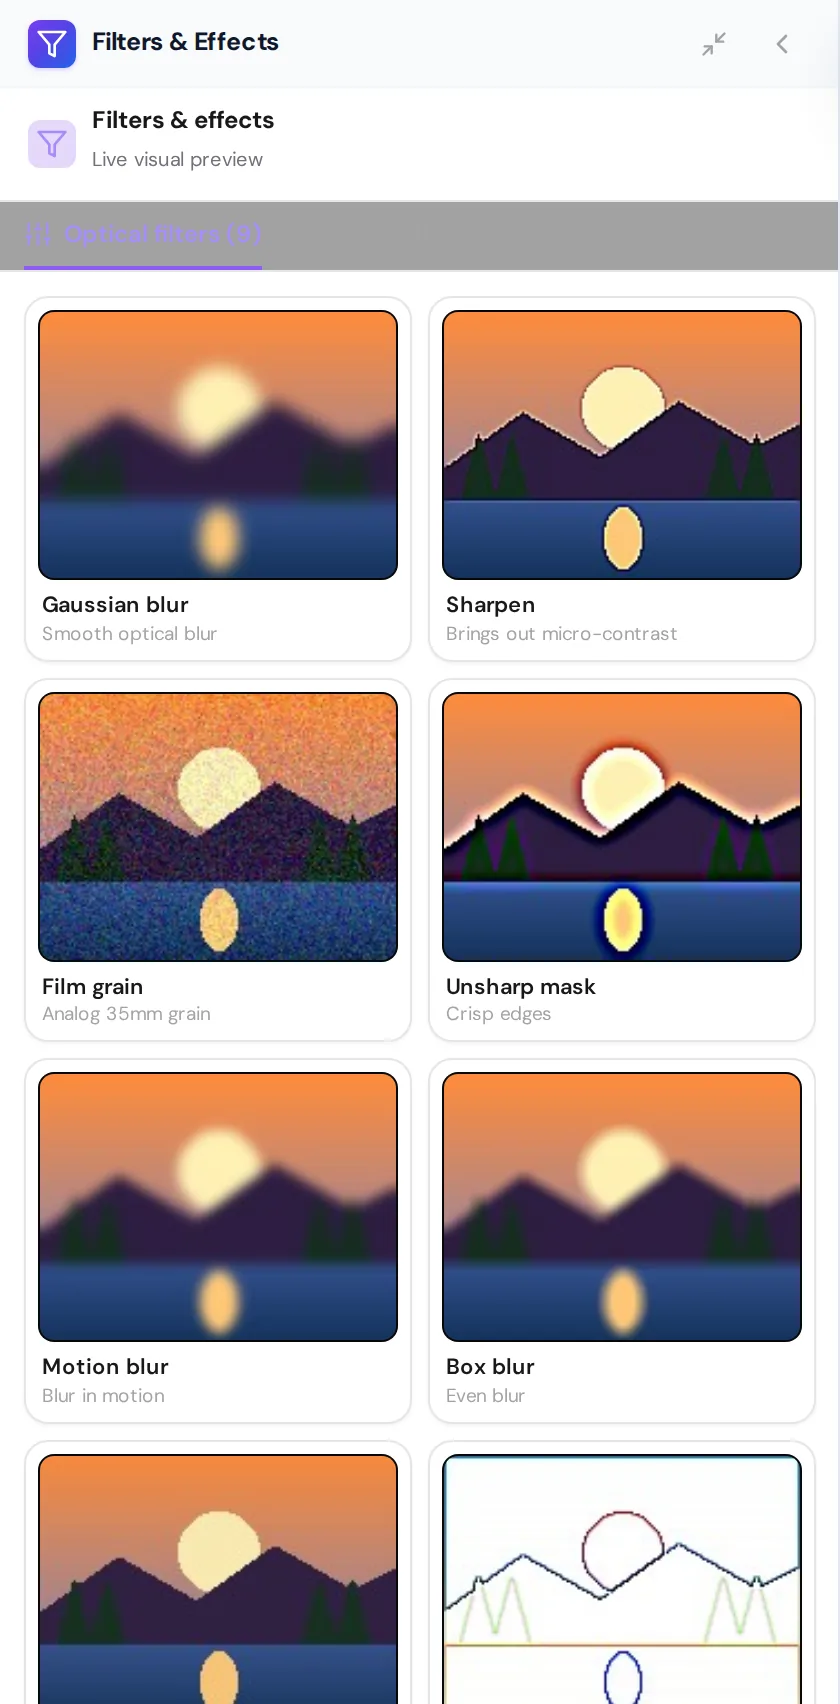
| Filter | Effect |
|---|---|
| Gaussian blur | Smooth optical blur |
| Sharpen | Brings out micro-contrast |
| Film grain | Analog 35 mm grain |
| Unsharp mask | Crisp edges |
| Motion blur | Blur in motion |
| Box blur | Even blur |
| Denoise | Sensor noise reduction |
| Edge detection | Outline sketch of the subject |
| 3D emboss | Monochrome relief |
Click a filter to open its sliders under the title Adjust: name (Amount, plus Radius or Angle depending on the filter), preview it on the photo, and press Apply: name. The panel shows Processing on GPU while it works.
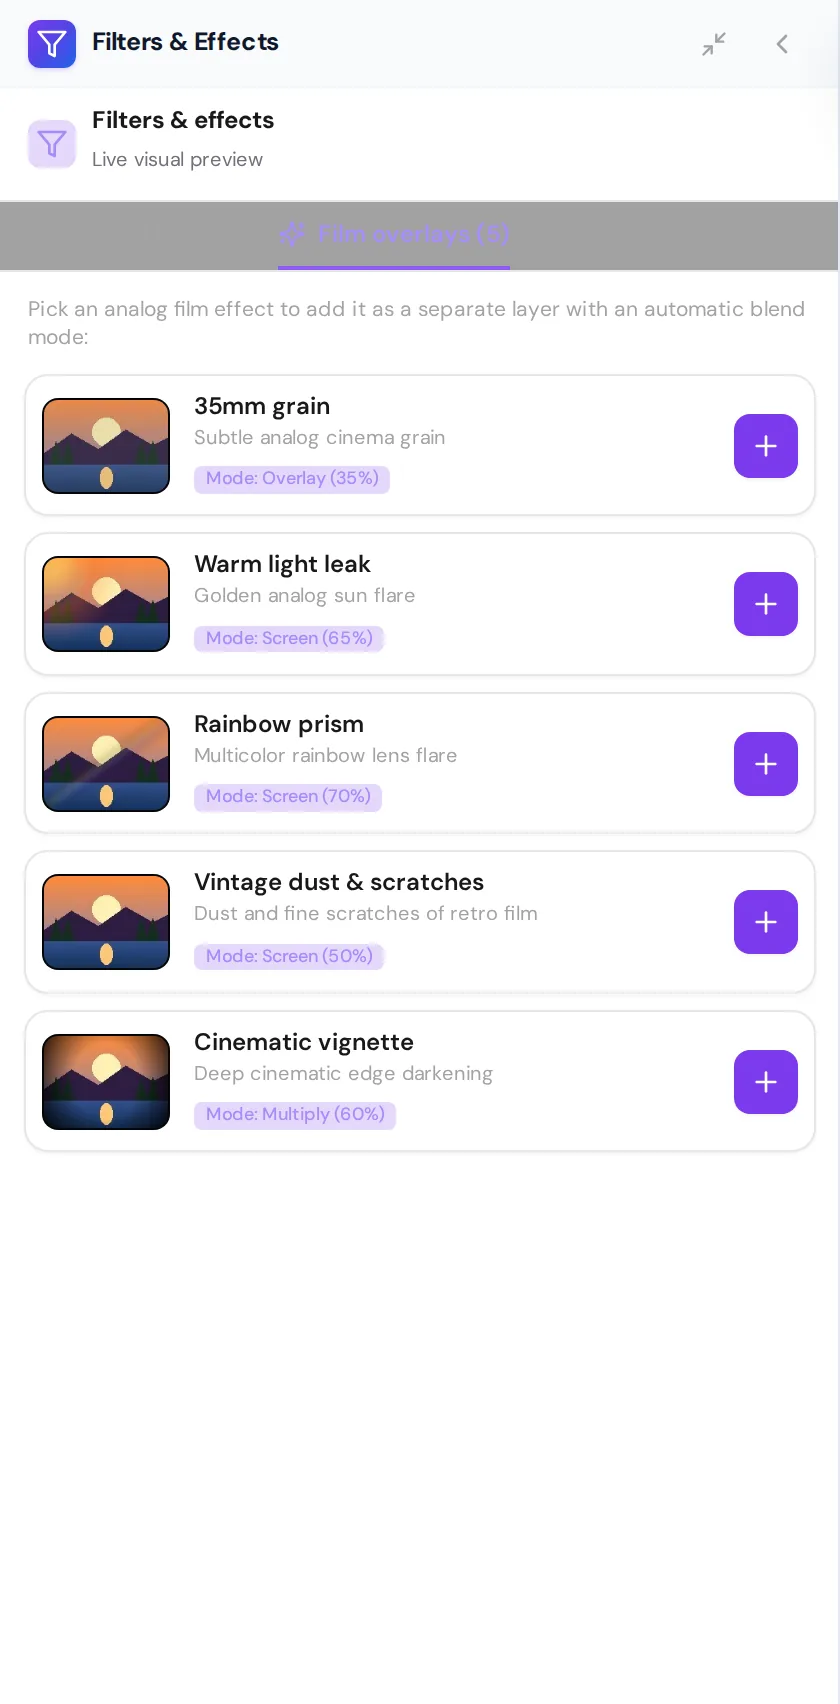
| Overlay | Look | Added as |
|---|---|---|
| 35mm grain | Subtle analog cinema grain | Overlay, 35% |
| Warm light leak | Golden analog sun flare | Screen, 65% |
| Rainbow prism | Multicolour rainbow lens flare | Screen, 70% |
| Vintage dust & scratches | Dust and fine scratches of retro film | Screen, 50% |
| Cinematic vignette | Deep darkening of the edges | Multiply, 60% |
The plus button next to an overlay adds it as a new layer with the blend mode and opacity shown, and a message confirms Overlay added. Because it is a layer, you can lower its opacity, change its blend mode, move it or delete it later without touching the photo underneath.
Presets
The Presets gallery (Alt+8) holds 55 looks plus Original, sorted into Popular, Vintage, Mood, B&W, Color Pop, Film and Pro. Every tile is a live preview of your own photo. Use the search box to find a look by name, for example Portra 400, Golden Hour, Teal & Orange or Bleach Bypass.
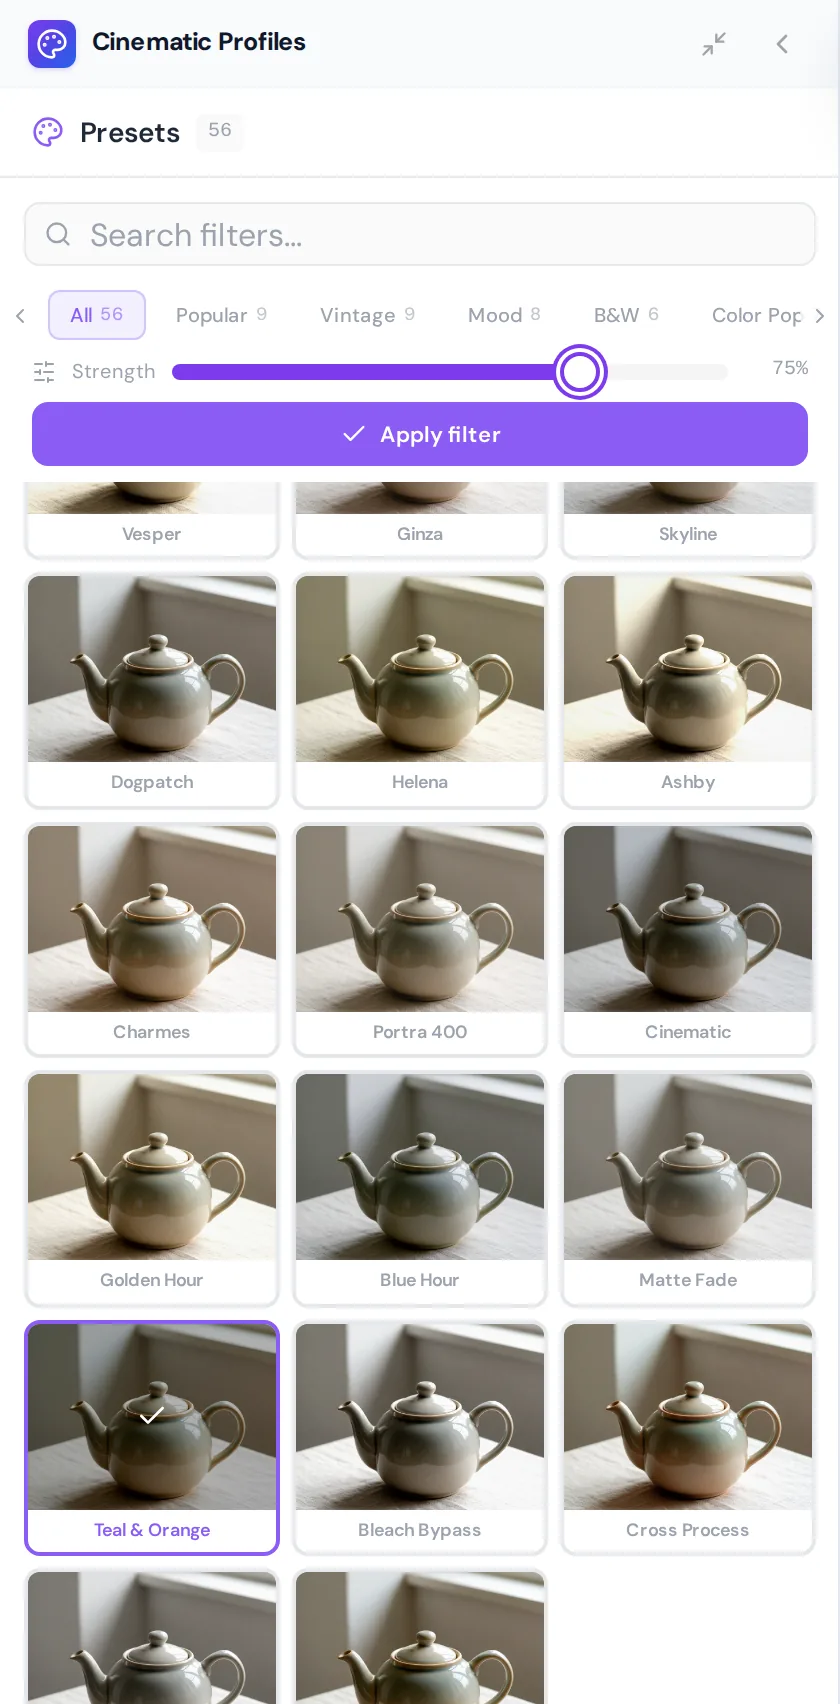
- Click a tile The preview on the canvas switches at once. Click another to compare, or Original to go back.
- Set Strength The slider at the top of the gallery fades the preset from your original (0) to the full look (100). Most presets look better below full strength on a photo that is already graded.
- Apply filter Press Apply filter to bake the look in. It becomes one History step called Filter.
A cinematic look at three quarters strength
Goal. Give a clean product photo a cinematic colour split without making the whites look tinted.
Input you can copy.
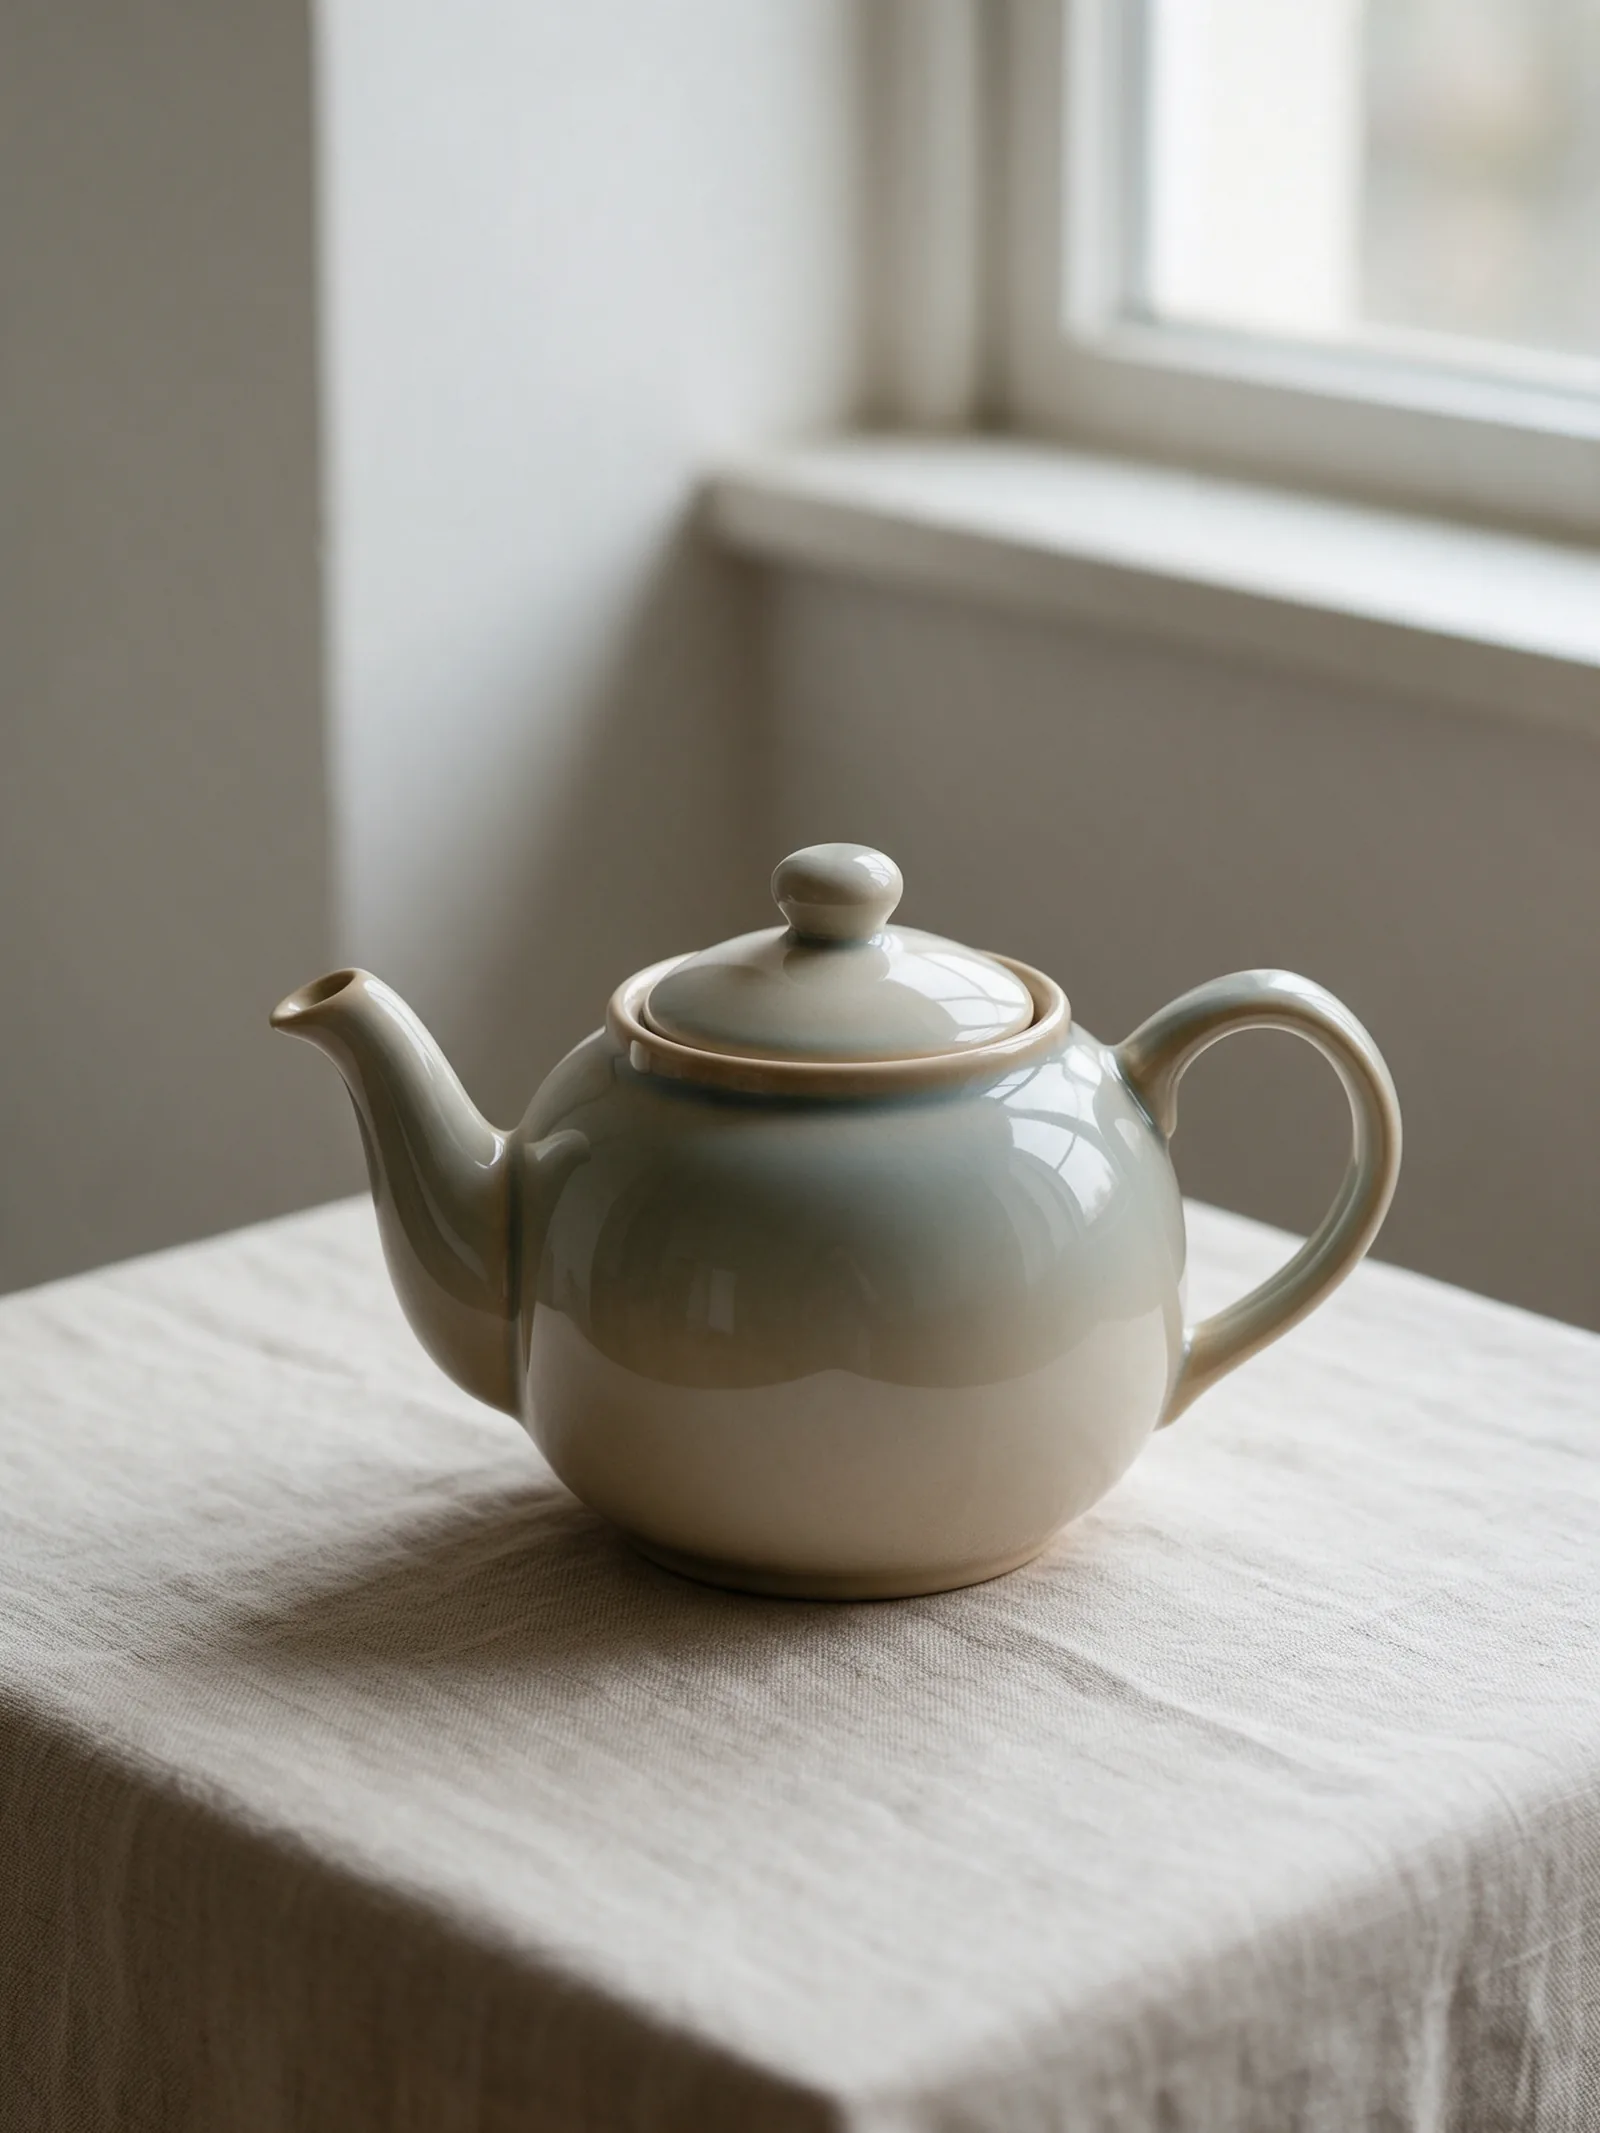
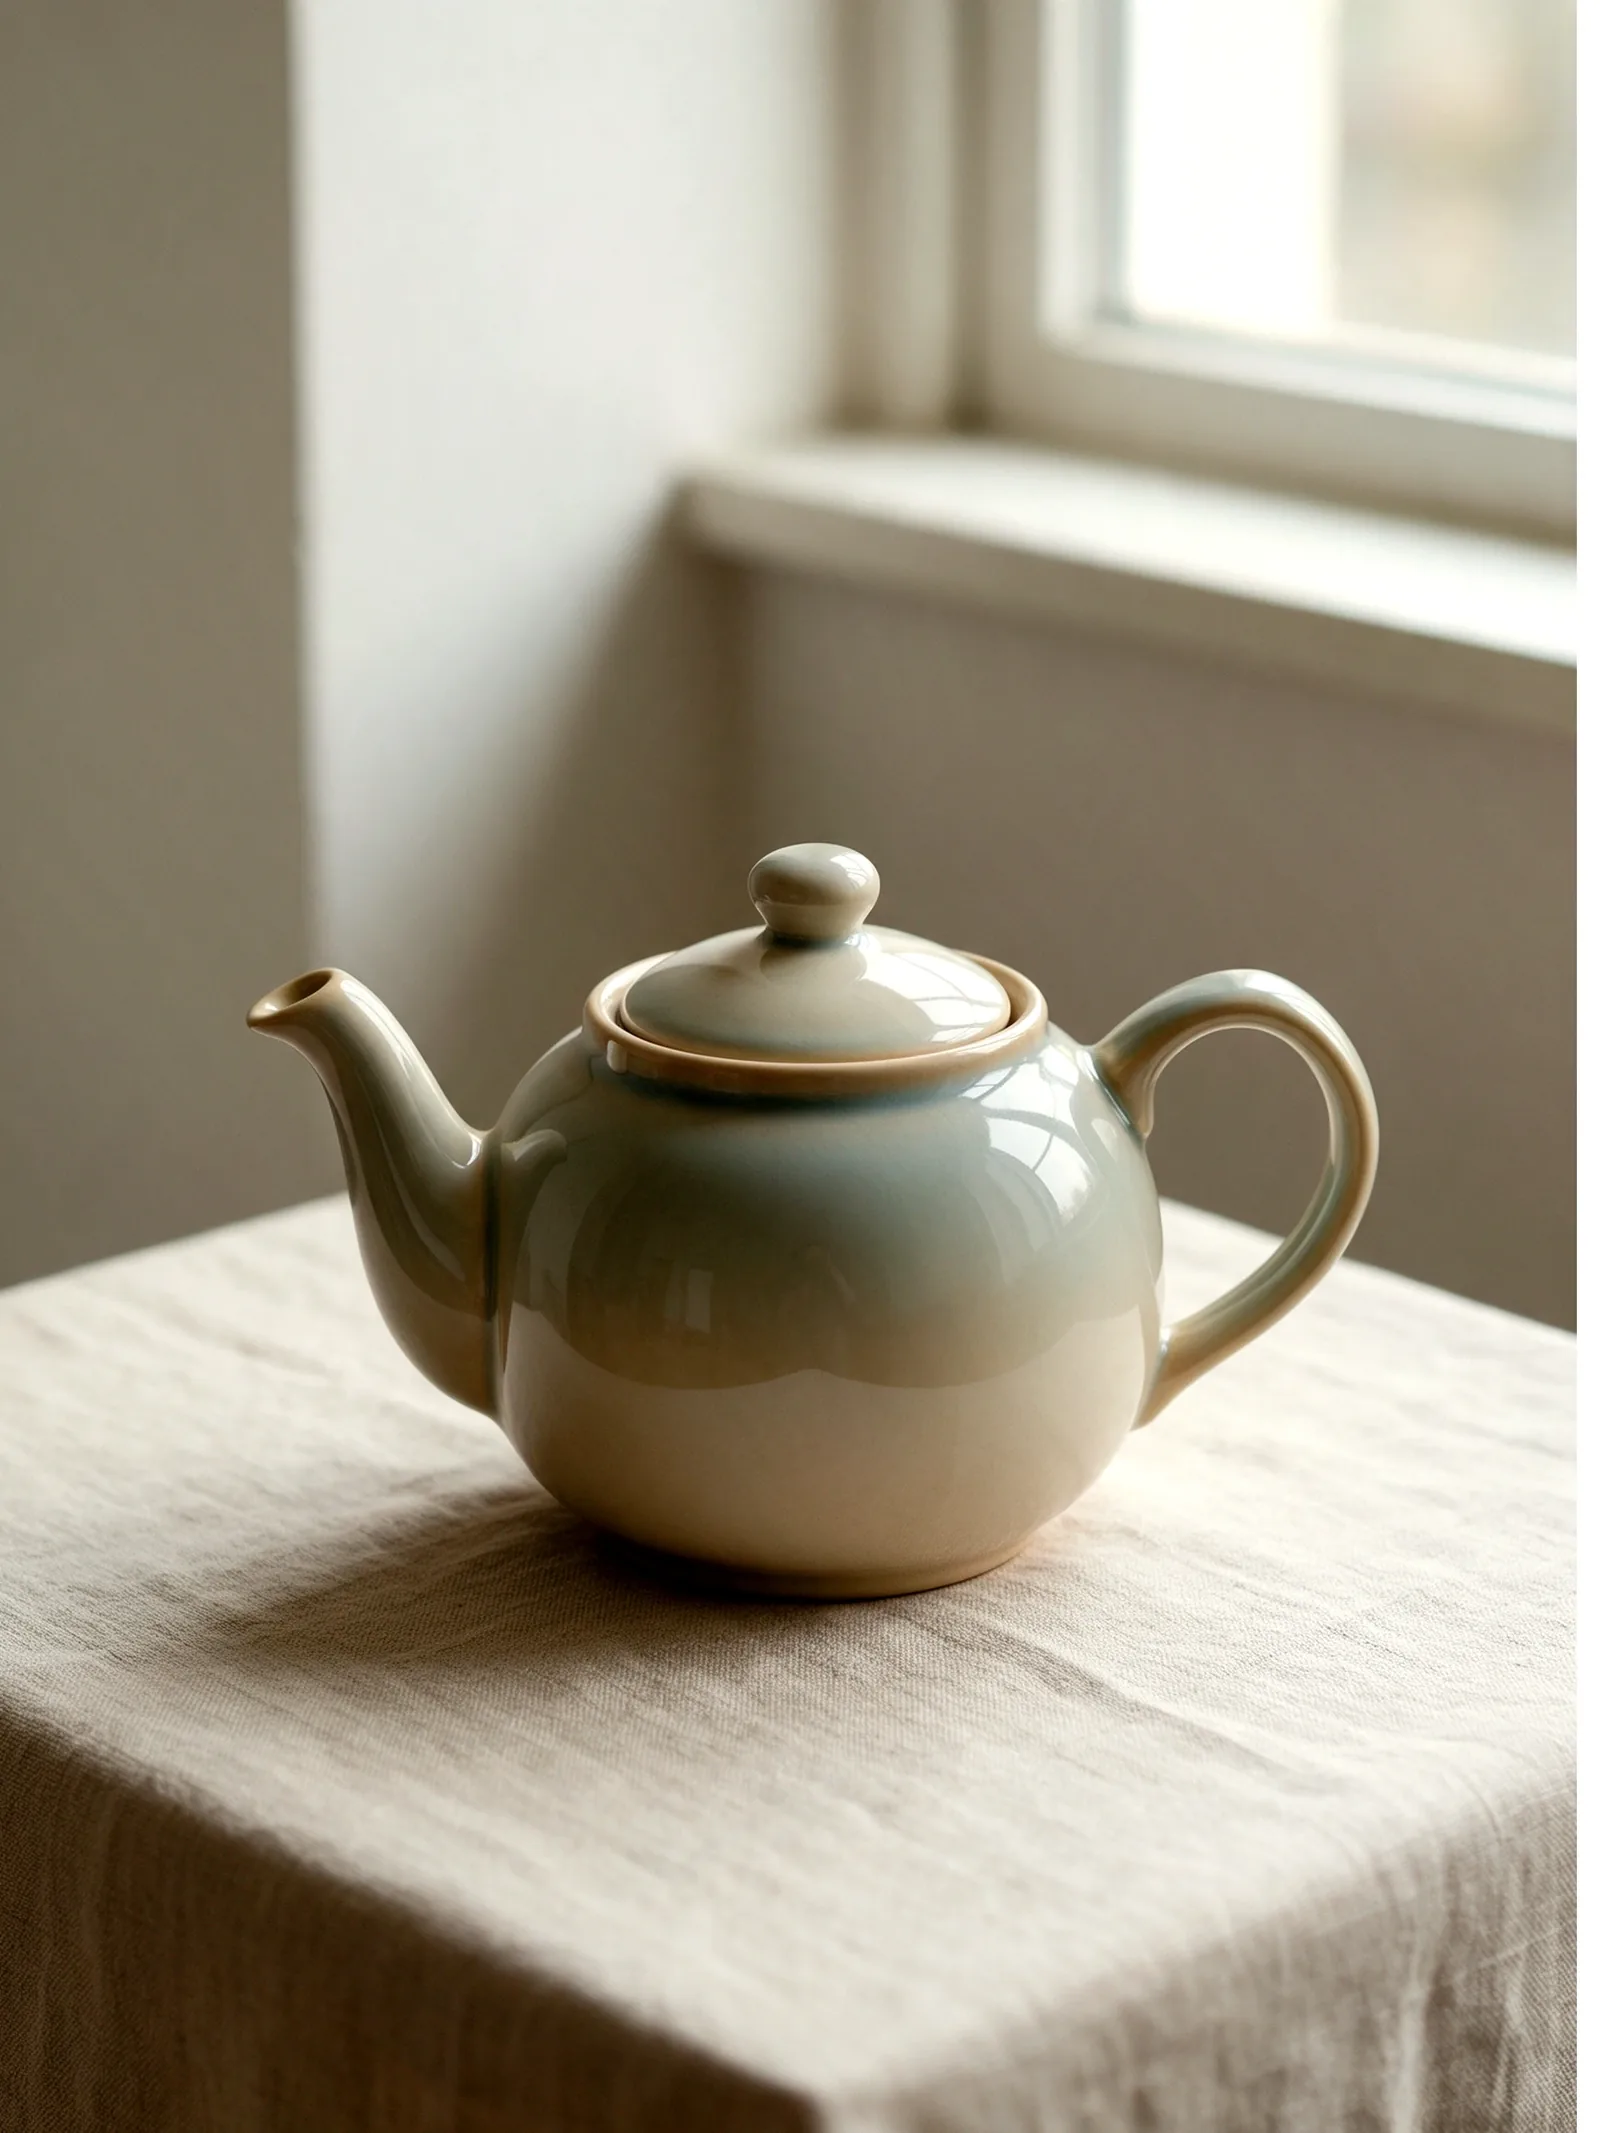
Photo: ceramic teapot on a linen cloth by a window| Setting | Value |
|---|---|
| Preset | Teal & Orange |
| Strength | Lowered to about three quarters |
| Export | WebP, 1x |
Why it works. At full strength the preset pushes the linen towards orange. Lowering Strength keeps the colour split in the shadows and the window light but leaves the cloth close to its own colour, which is what a product shot needs. Apply the preset first and make small Adjust corrections after it.
Stickers, text and the brand kit
Stickers
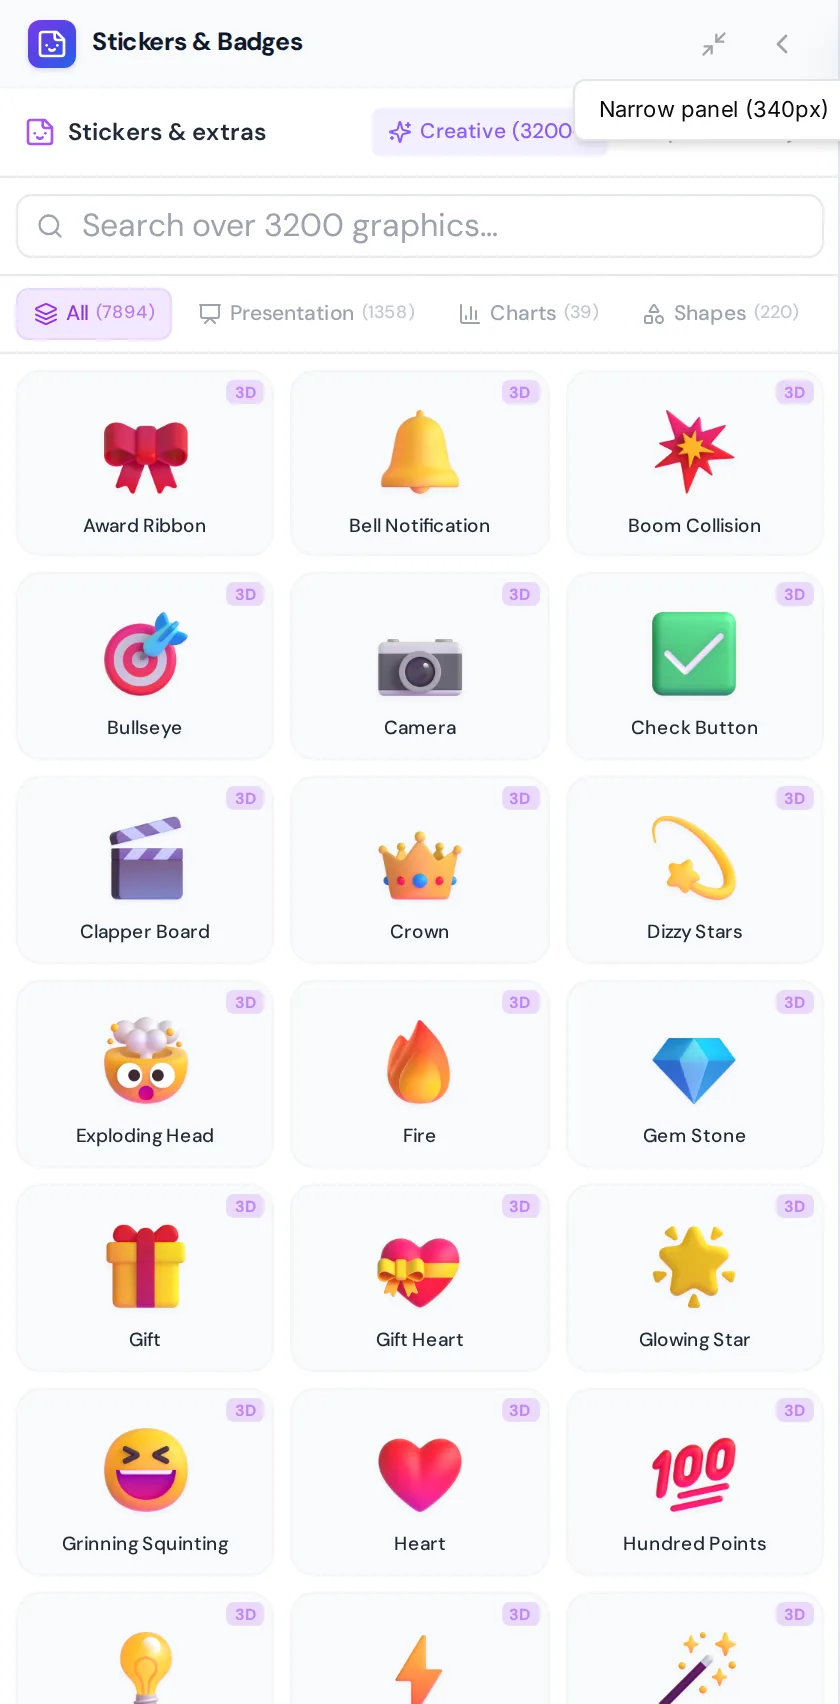
The Stickers panel (Alt+9) has three tabs. Creative is a searchable library of more than 3,200 graphics with categories such as Presentation, Charts, Shapes and a large set of 3D stickers. Shapes has Circle, Star, Heart, Diamond, Arrow, Speech bubble, Badge and Hexagon. Emoji is sorted into Popular, Faces, Love, Nature, Fun, Awards, Food and Symbols. Click an item to add it to the photo. A message confirms Added with the name. It is a normal layer, so move, scale, rotate or delete it like any other.
Text on a photo
- Add a text box Open Text and press Add a text box, or click one of the ready styles: Heading, Subheading, Body text, or the Text styles grid (Heading 1 to 4, Subtitle, Body large, Body, Body small, Caption, Display, Handwriting, Impact).
- Edit the words Double-click the text on the canvas to edit it, select all with Mod+A inside the box and type. Click outside to finish.
- Move and size it Drag the text to place it and pull a corner handle to resize it. The round handle above the box rotates it.
- Check contrast Light text on a light area is hard to read. Move the text to a calmer part of the photo, or add the Cinematic vignette overlay to darken the edges first.
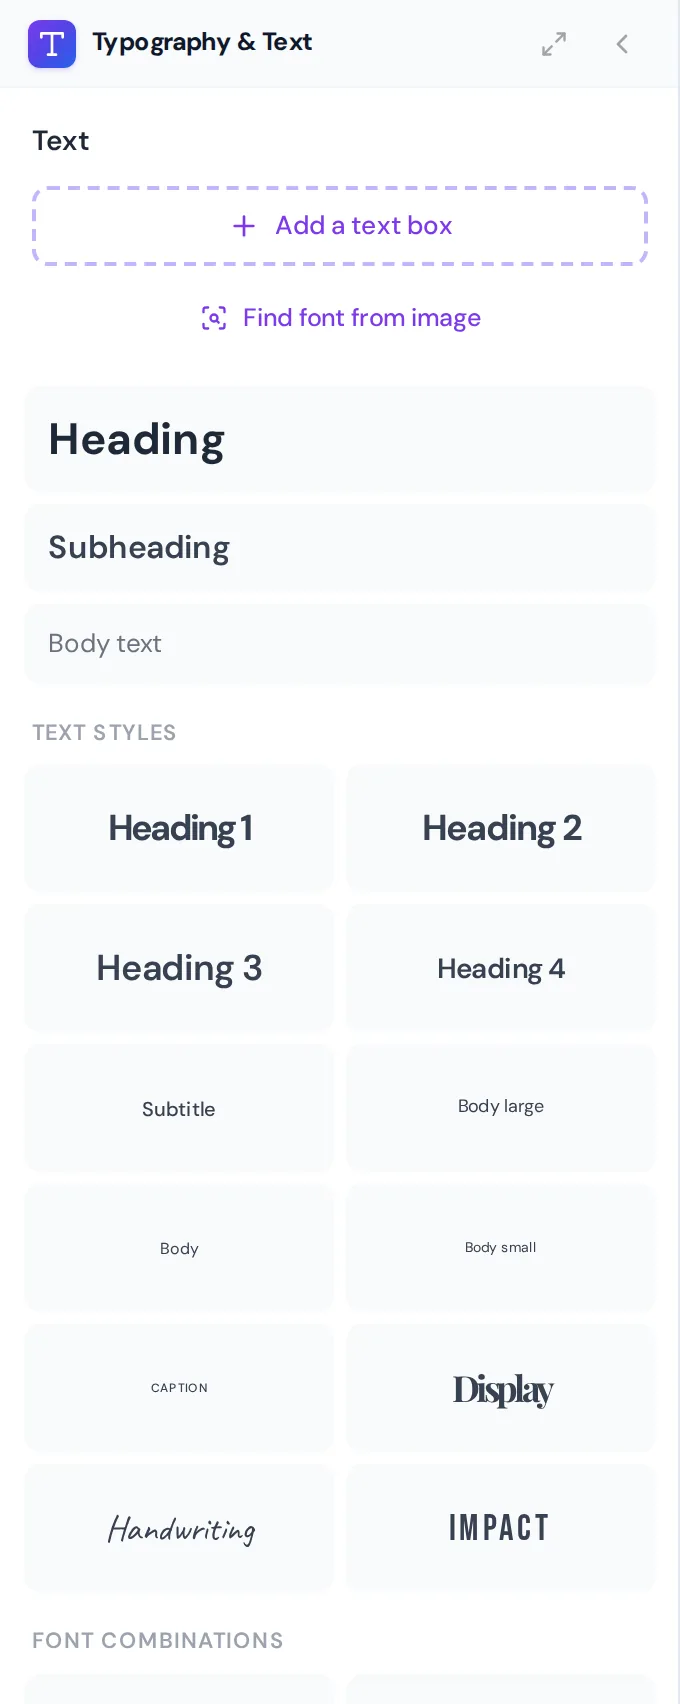
Find font from image reads a font from a picture so you can match lettering you have seen elsewhere. The Font combinations list under the styles pairs headings with fitting body fonts.
The brand kit
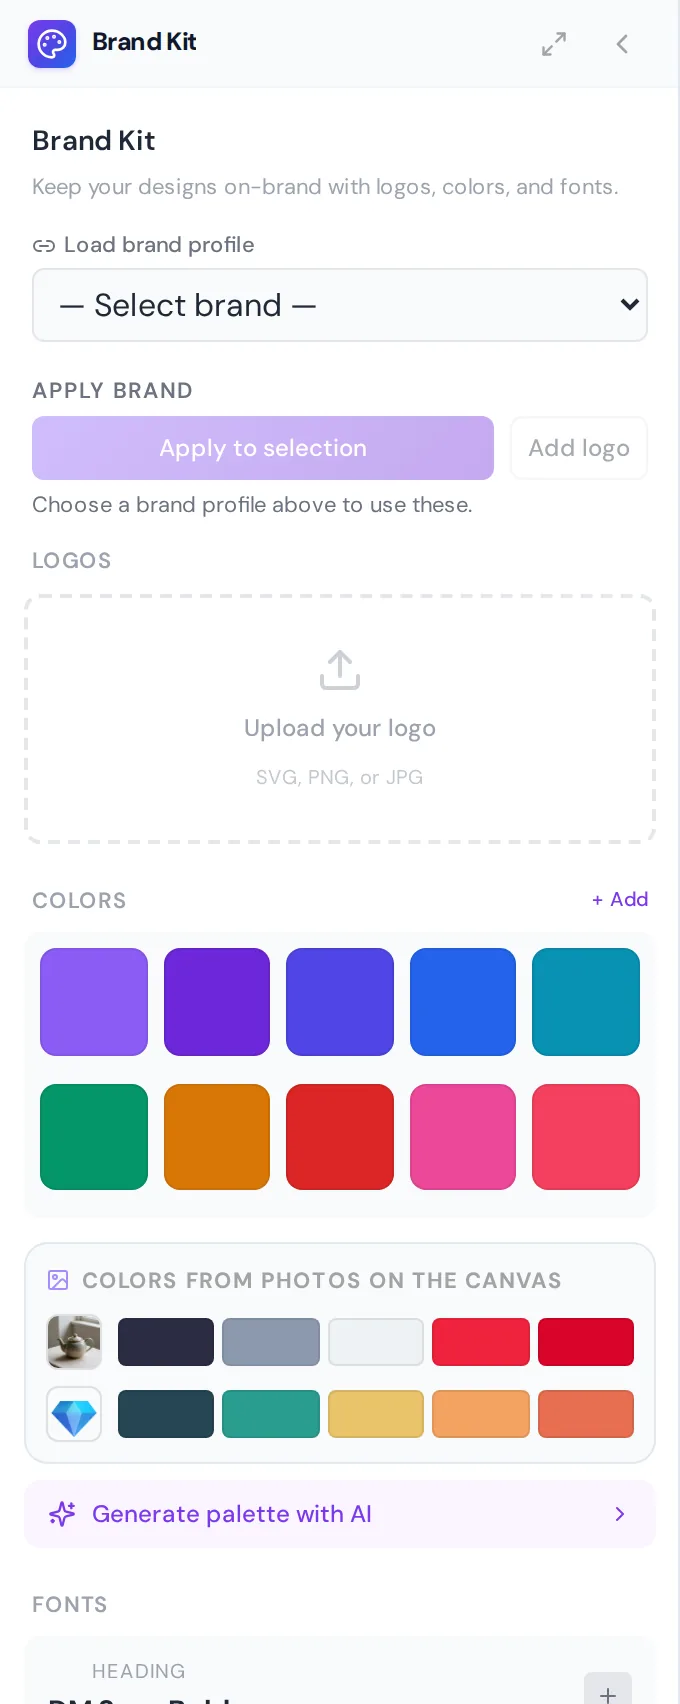
The Brand panel is the same brand kit as in the Design Studio. Load brand profile picks one of your saved brands. Apply to selection applies it to the selected element, Add logo places the logo on the photo. Below that are Logos (upload your own), Colors (add colours, use colours found in the photo on the canvas, or ask for a generated palette) and Fonts (heading and body, and Upload custom font). A fast way to put a logo and a brand colour on a photo for a campaign.
Layers, opacity and blend modes
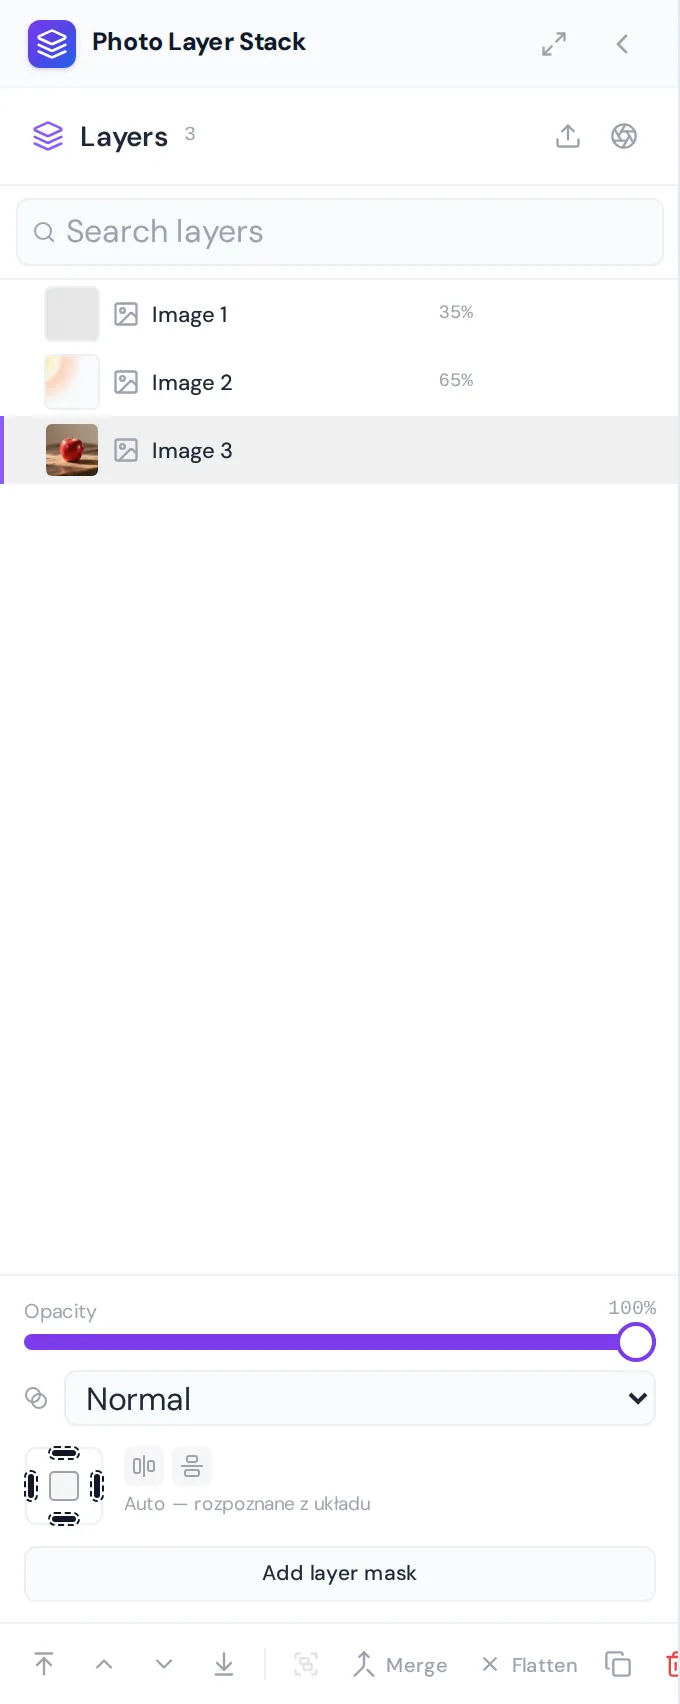
Everything you add (film overlays, stickers, text, cut-outs) is a layer. Select a layer in the Layers panel and the controls under the list apply to it: Opacity from 0 to 100 percent and a Blend mode menu.
| Blend mode | What it does |
|---|---|
| Normal | The layer covers what is below, scaled by its opacity. |
| Multiply, Darken, Color burn | Darken. White disappears. Good for shadows, vignettes and paper texture. |
| Screen, Lighten, Color dodge | Lighten. Black disappears. Good for light leaks, glows and flares. |
| Overlay, Soft light, Hard light | Add contrast and colour depending on the tones below. Good for grain and texture. |
| Difference, Exclusion | Invert by tone. Mostly for effects and checks. |
| Hue, Saturation, Color, Luminosity | Apply only one component of the layer to the picture below. |
Light leak and grain on a product photo
Goal. Give a clean photo a little analog warmth without changing the photo itself.
Input you can copy.
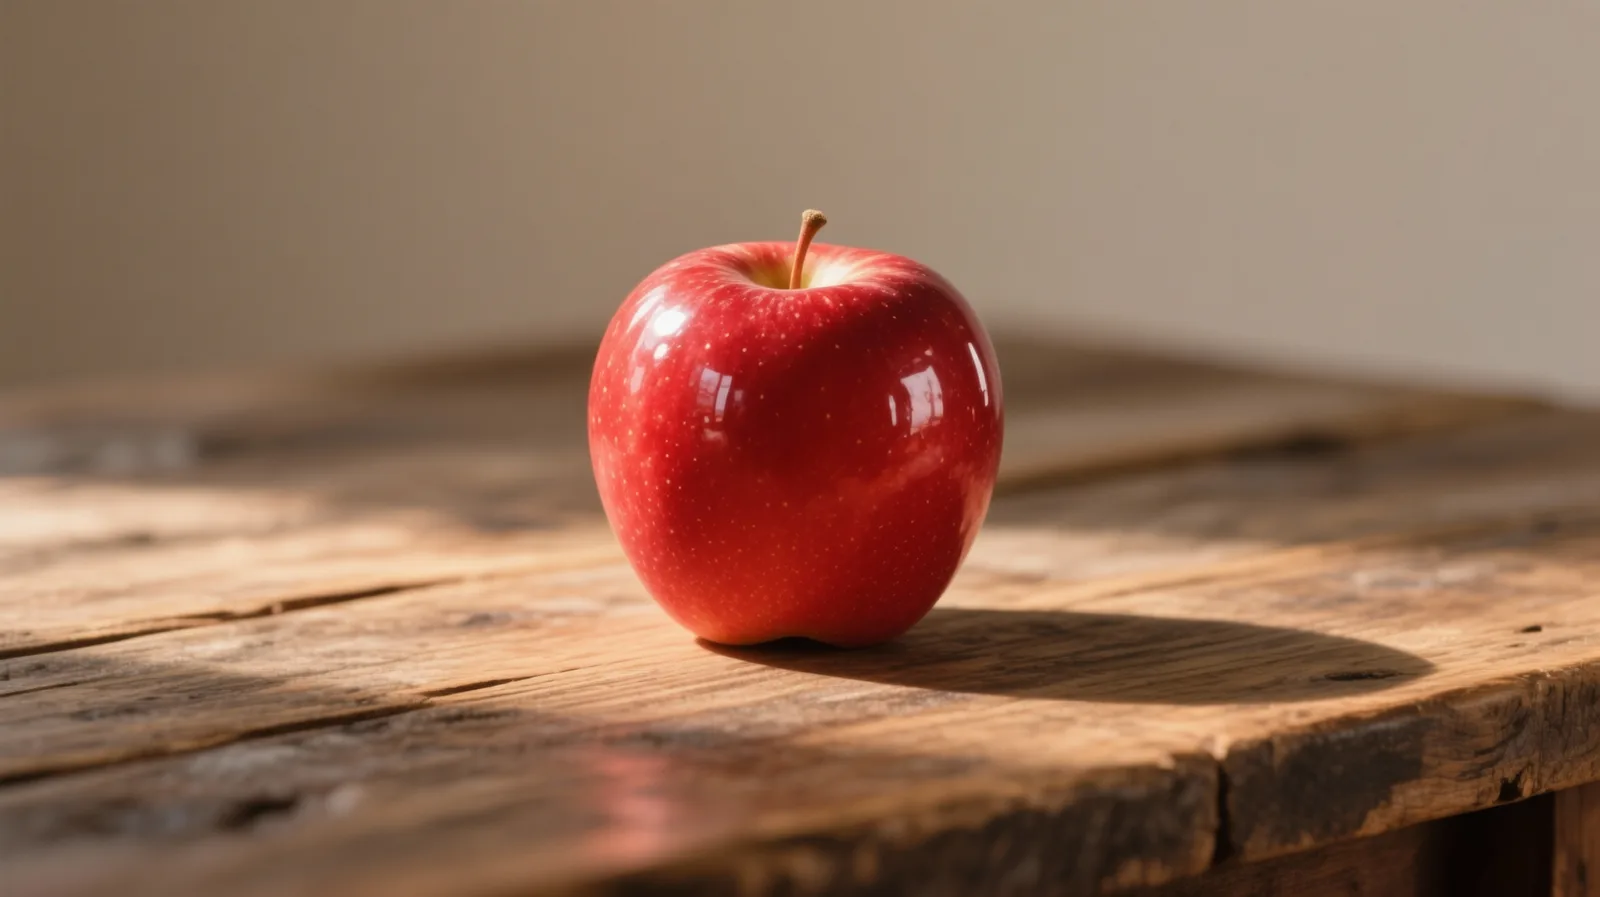
Photo: red apple on a rustic table| Setting | Value |
|---|---|
| Filters tab | Film overlays, Warm light leak (Screen, 65%) and 35mm grain (Overlay, 35%) |
| Layers | Both overlays stay as layers, the photo is untouched |
| Export | PNG, 1x |
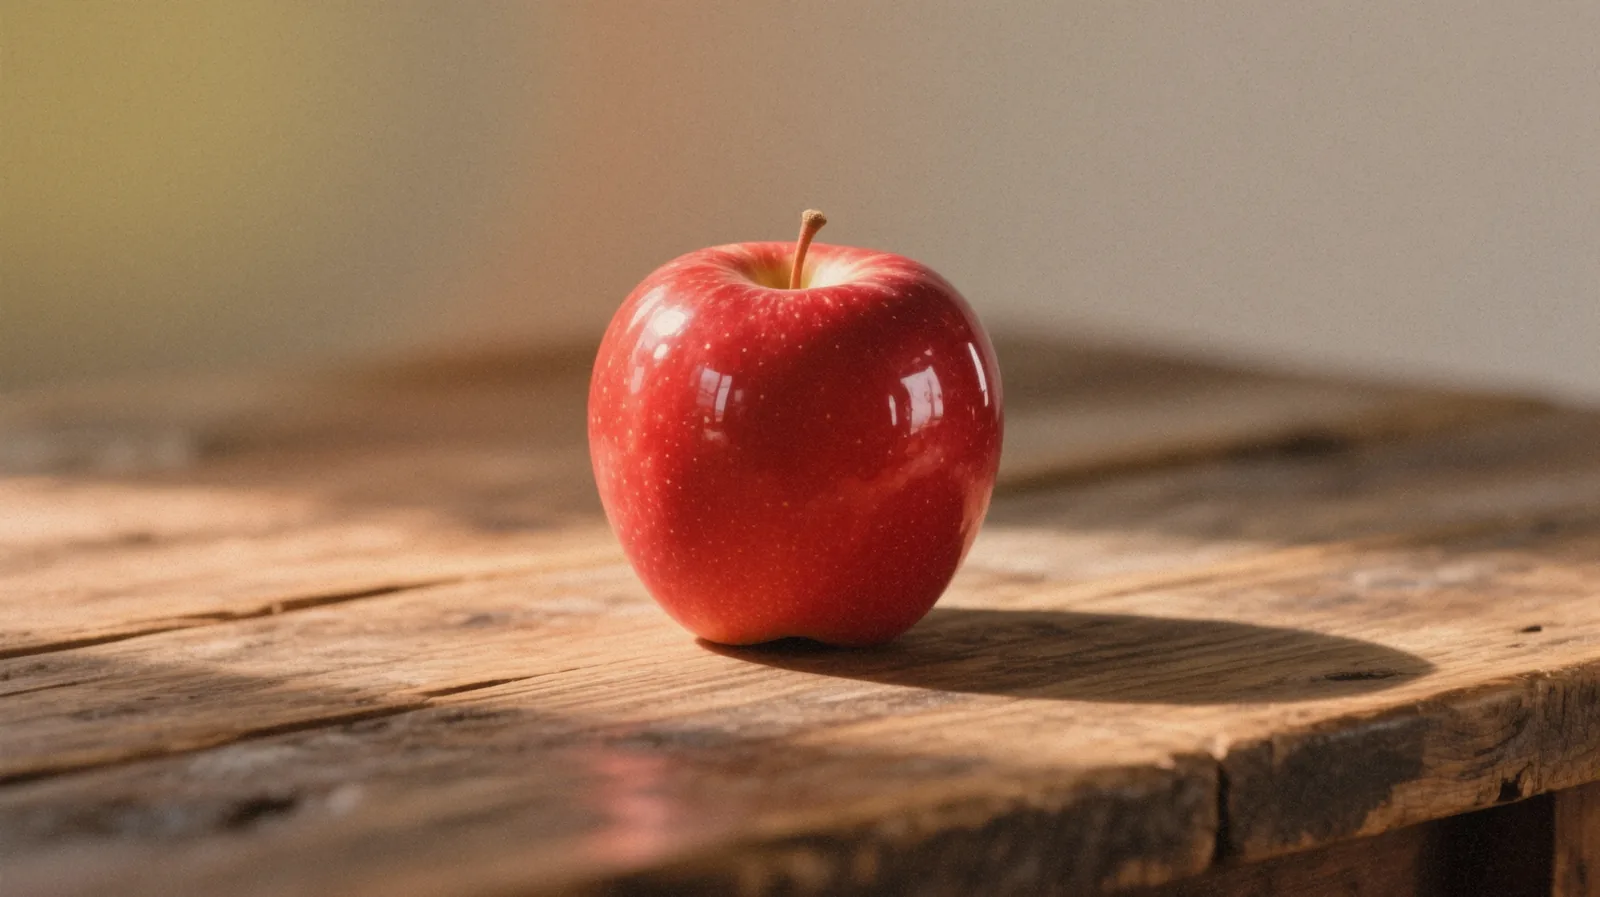
Why it works. Screen only ever adds light, so the leak warms the highlights and cannot muddy the shadows. Overlay lets the grain follow the tones of the photo. Lowering a layer's opacity in the Layers panel is how you tune the strength afterwards, which is the advantage over a baked filter.
Export
Press Mod+Shift+E, the download icon in the top bar, or File and Download. The export dialog renders the whole page, including layers, text and stickers. It is separate from saving: exporting writes a file to your computer, while Save to gallery puts the picture into your library.
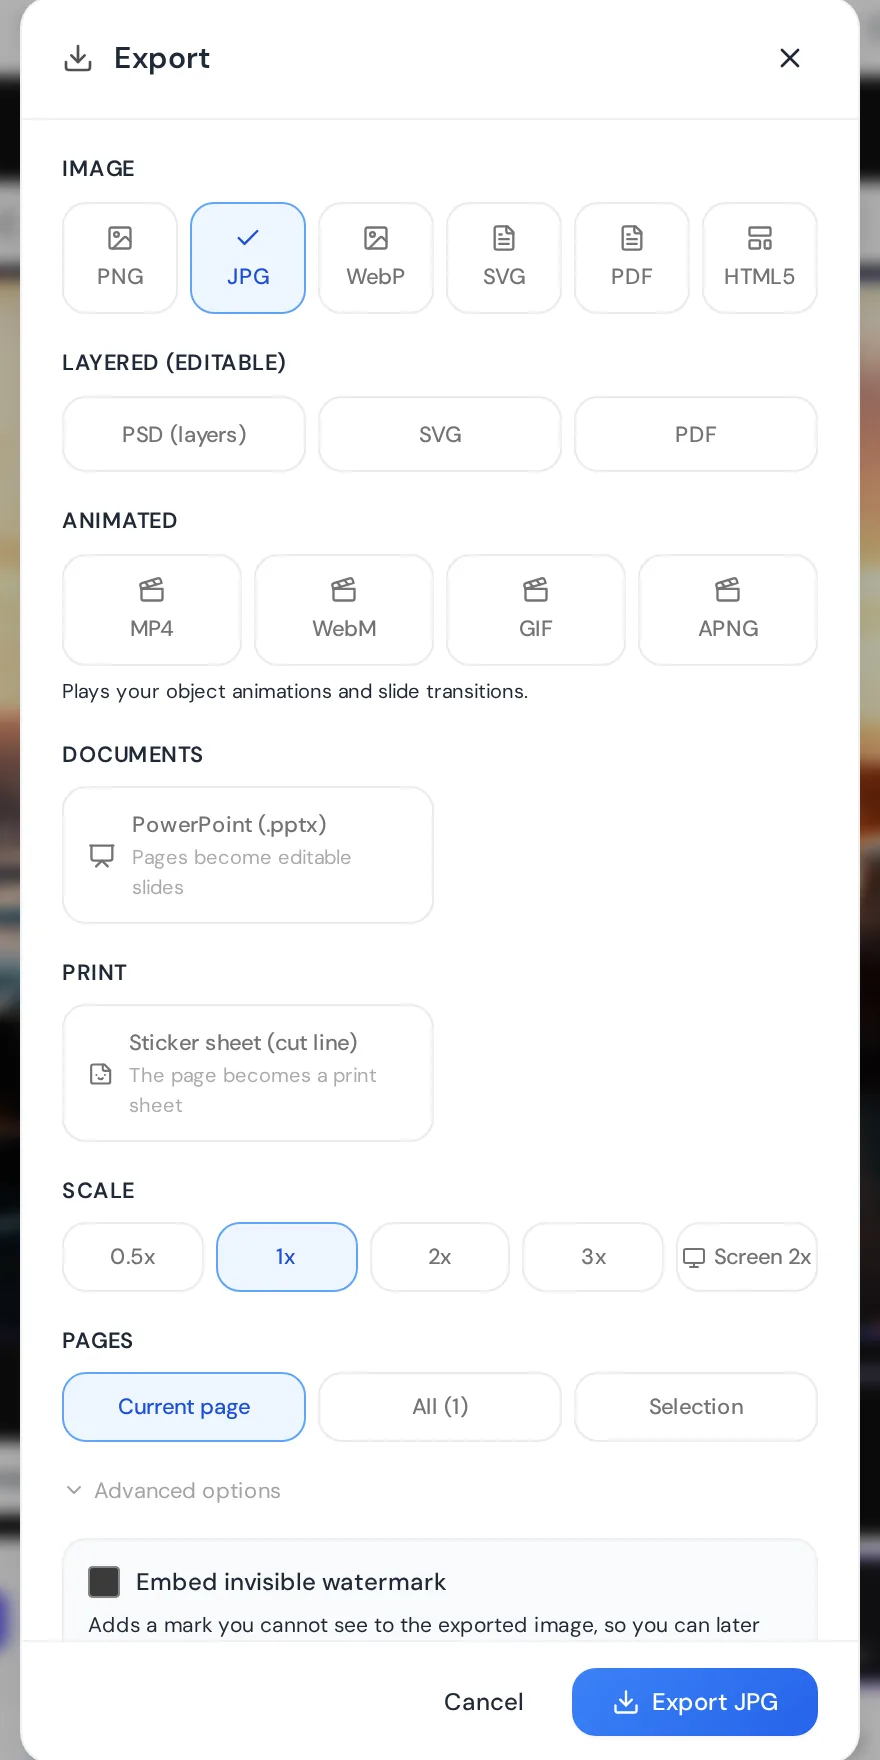
| Format | Best for | Notes |
|---|---|---|
| PNG | Graphics, cut-outs, anything with transparency | Keeps the transparent background of a cut-out. Larger files. |
| JPG | Photos for the web, email and social | Smaller files, no transparency (it is filled). A quality setting trades size for detail. |
| WebP | Photos on websites | Small files with good quality, supports transparency. |
| SVG, PDF | Vector and print documents | Available on paid plans. A photo stays a raster picture inside them. |
Below the formats the dialog also lists Layered (editable) exports, Animated exports (MP4, WebM, GIF, APNG), a PowerPoint export and a print sticker sheet. They are made for designs rather than a single photo, so you will rarely need them here.
Scale, pages and size
- Scale multiplies the page size: 0.5x, 1x, 2x, 3x, or Screen, which follows your display's pixel density. 1x gives exactly the size shown under the canvas.
- Pages exports the Current page, All pages or a Selection.
- The Output line shows the resulting size in pixels before you press the button.
- Embed invisible watermark under Advanced options adds a mark you cannot see, so you can later prove an exported image came from you. It is optional, and the normal export never depends on it.
- The dialog remembers your last format, scale and JPG quality on this device.
- Continue with… sends the exported picture straight to another module instead of downloading it.
| Plan | Largest scale | Longest side | Formats |
|---|---|---|---|
| Free | 1x | 4,096 px | PNG, JPG, WebP |
| Starter | 2x | 8,192 px | PNG, JPG, WebP, SVG, PDF |
| Medium and above | 3x | 16,384 px | PNG, JPG, WebP, SVG, PDF |
Troubleshooting
- My slider changes disappear when I switch panels.
- Slider values are a live preview until you press the Apply button of that panel. Apply adjustment, Apply for Curves and Levels, and Apply filter for presets bake the change in and record it in History.
- The histogram stays grey or a spinner keeps turning.
- The histogram is computed from the full photo, and a very large picture can take several seconds. Move a slider or wait a moment. The adjustments themselves work while it loads.
- Presets look too strong.
- Lower the Strength slider before you press Apply filter. If you already applied it, undo from History and apply again at a lower strength.
- The film overlay does not show.
- Check that the overlay layer is visible (the eye in the Layers panel) and that its opacity is not near zero. Blend modes such as Screen and Multiply show nothing over a completely white or black area.
- My cut-out has a white background after export.
- JPG cannot store transparency and fills it. Export as PNG or WebP.
- The 2x or 3x scale is locked.
- Higher scales belong to paid plans. The lock names the limit, and 1x always works. The longest side of any export is also capped by your plan.
- The exported file looks different from the screen.
- Compare at 1x and at 100 percent zoom, because the canvas shows a scaled-down version. Check that Pages is set to Current page and that no hidden layer is on.